Start continuous integration with Travis CI for Jekyll website.
1. GitHub Pages & Jekyll
I have my person website http://bamr87.github.io/ hosted on Github Pages. I post new blogs by creating Markdown files(.md) and submit them to the repository on Github. Then, Github Pages(powered by Jekyll) starts to compile the entire website and publish it. In some cases, however, the compilation fails, and the new changes are not published. Then, GitHub Page will send a notification email to me. This email just reminds me that there is one build failure, but doesn’t tell what is the root cause.
Another approach is to use third-party service(eg. Travis CI) to display Jekyll build error messages, which is also recommended by Github Pages.
2. Travis CI
Travis CI is a hosted, distributed continuous integration service used to build and test software projects hosted at GitHub.
3. Configuration of GitHub Page
Add a file named Gemfile in the root of the GitHub Pages repository with the following content:
Gemfile
source 'https://rubygems.org'

gem 'github-pages'
Add another file named .travis.yml to the root of the GitHub Pages repository with the following content:
language: ruby
rvm:
- 2.4
script: "bundle exec jekyll build"
Submit these two files to GitHub repository.
4. Configuration on Travis CI
Access the home page of Travis CI - https://travis-ci.org, logon with your GitHub account.
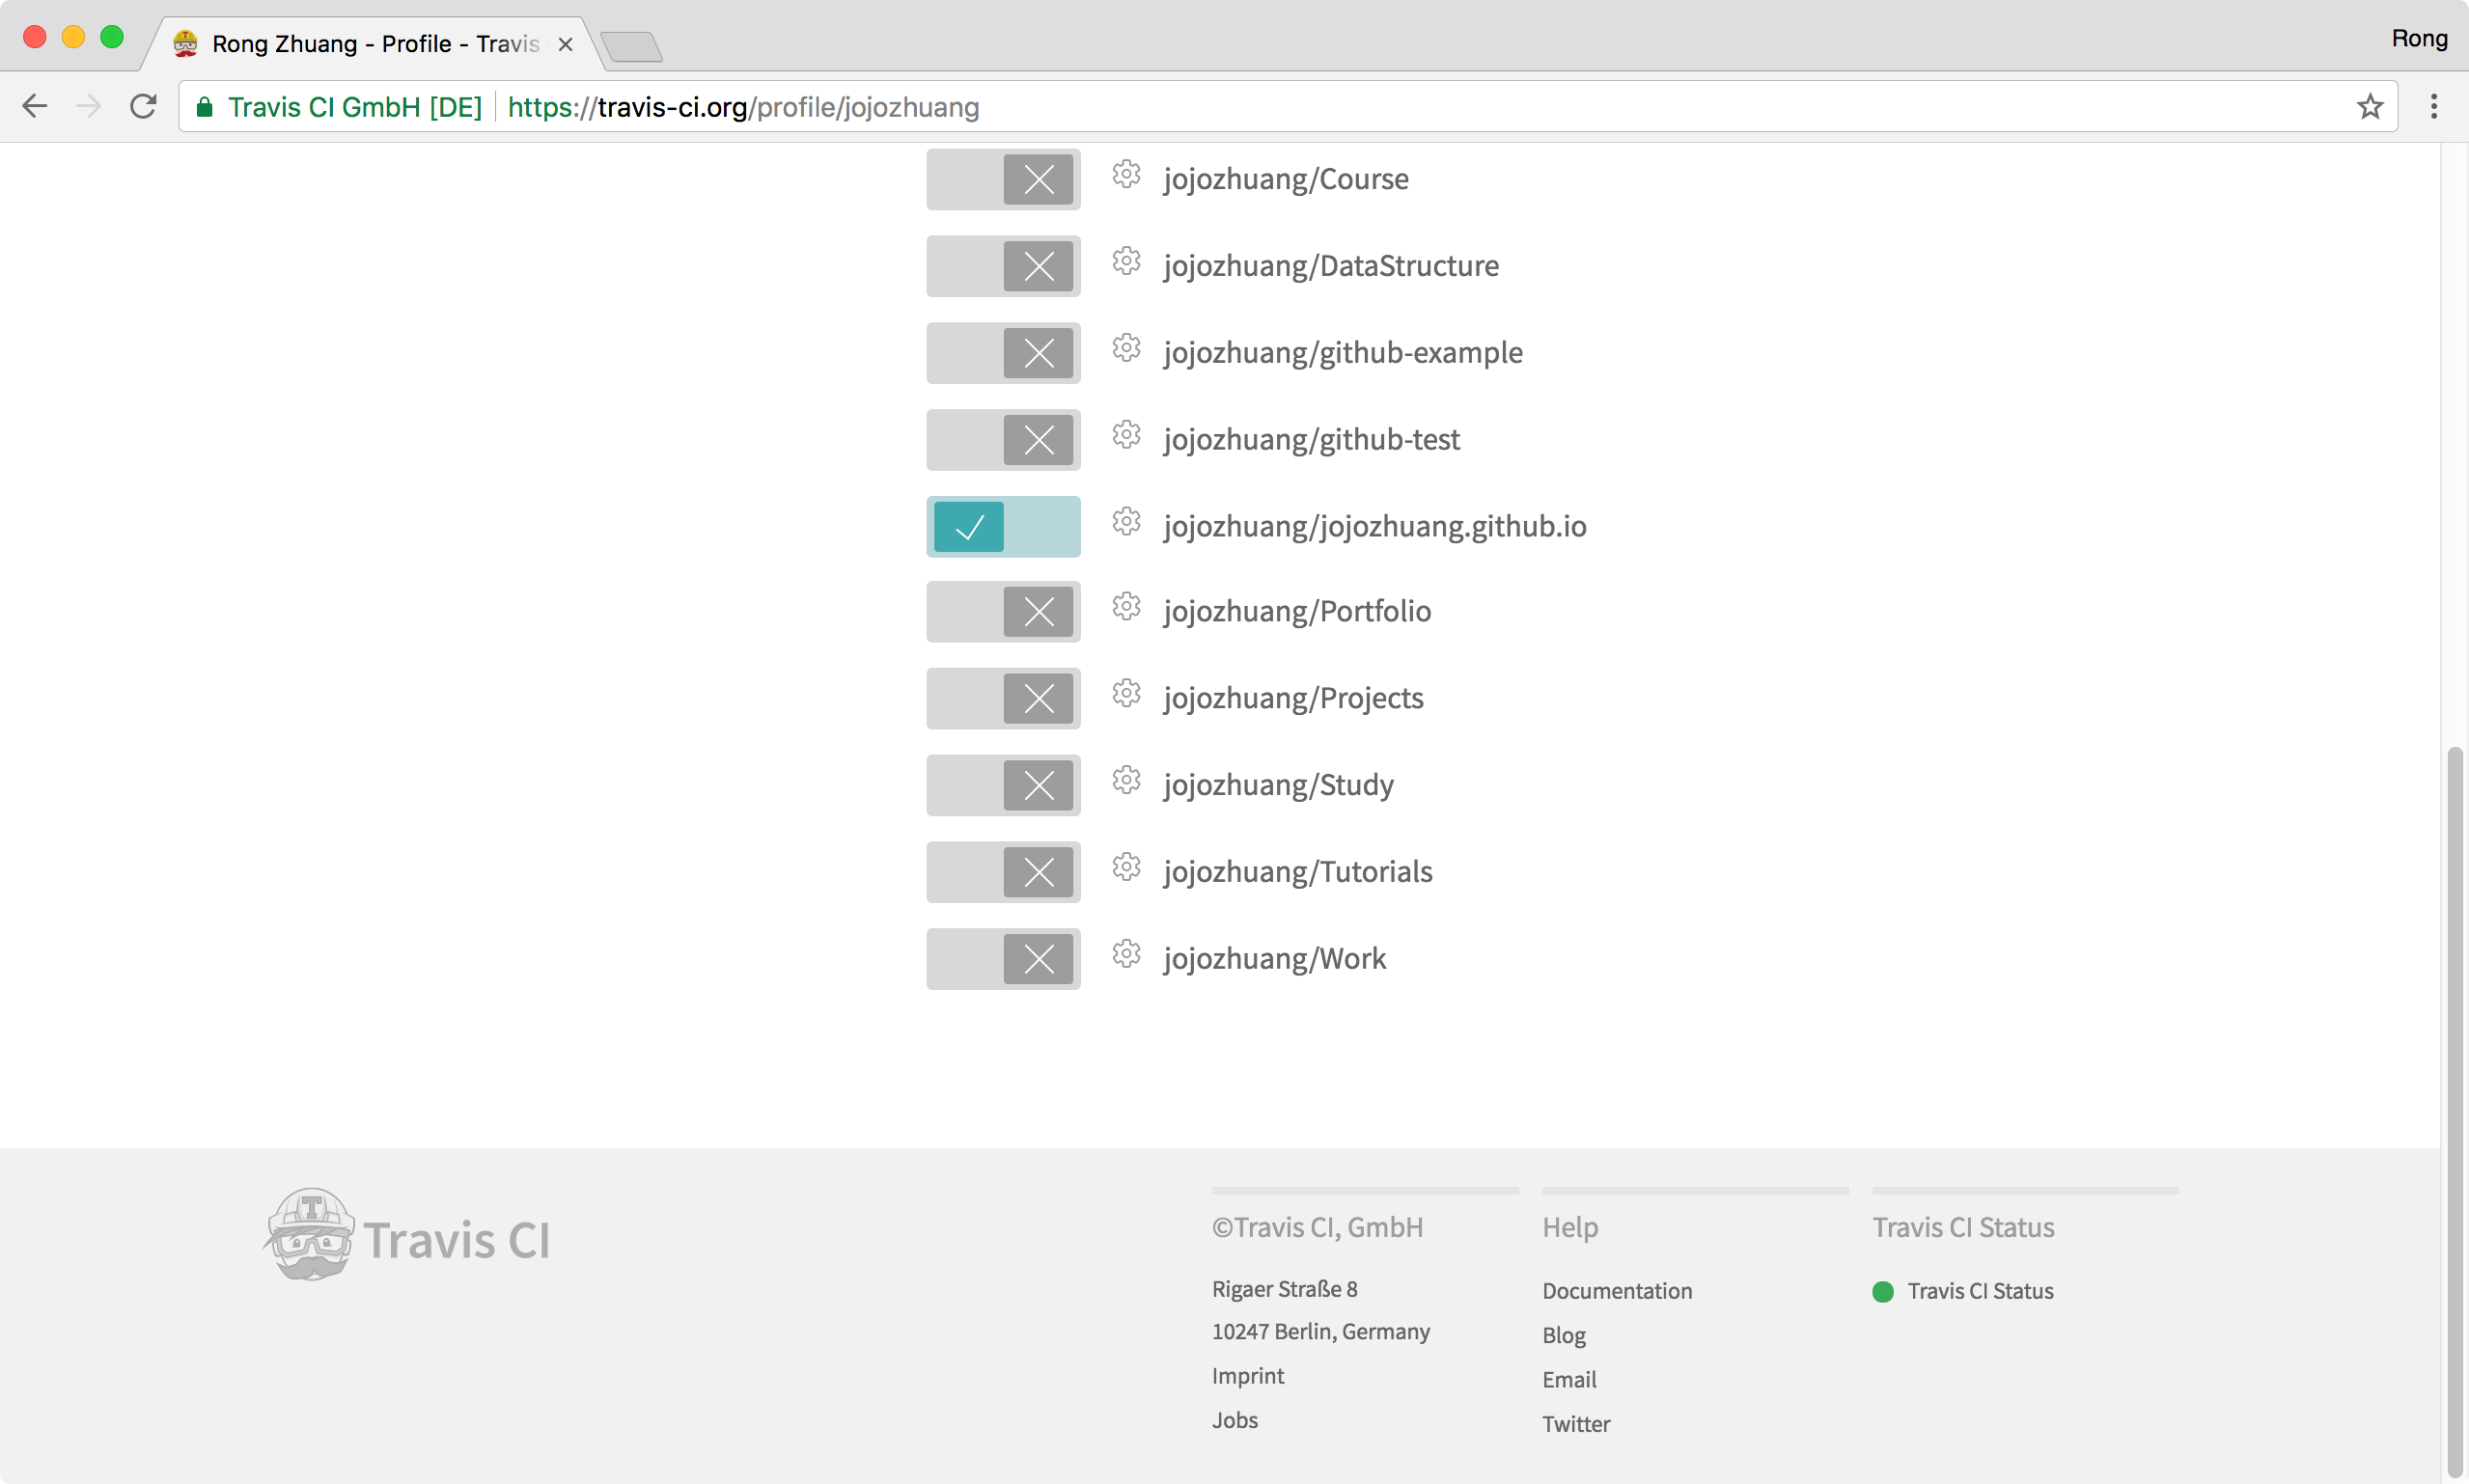
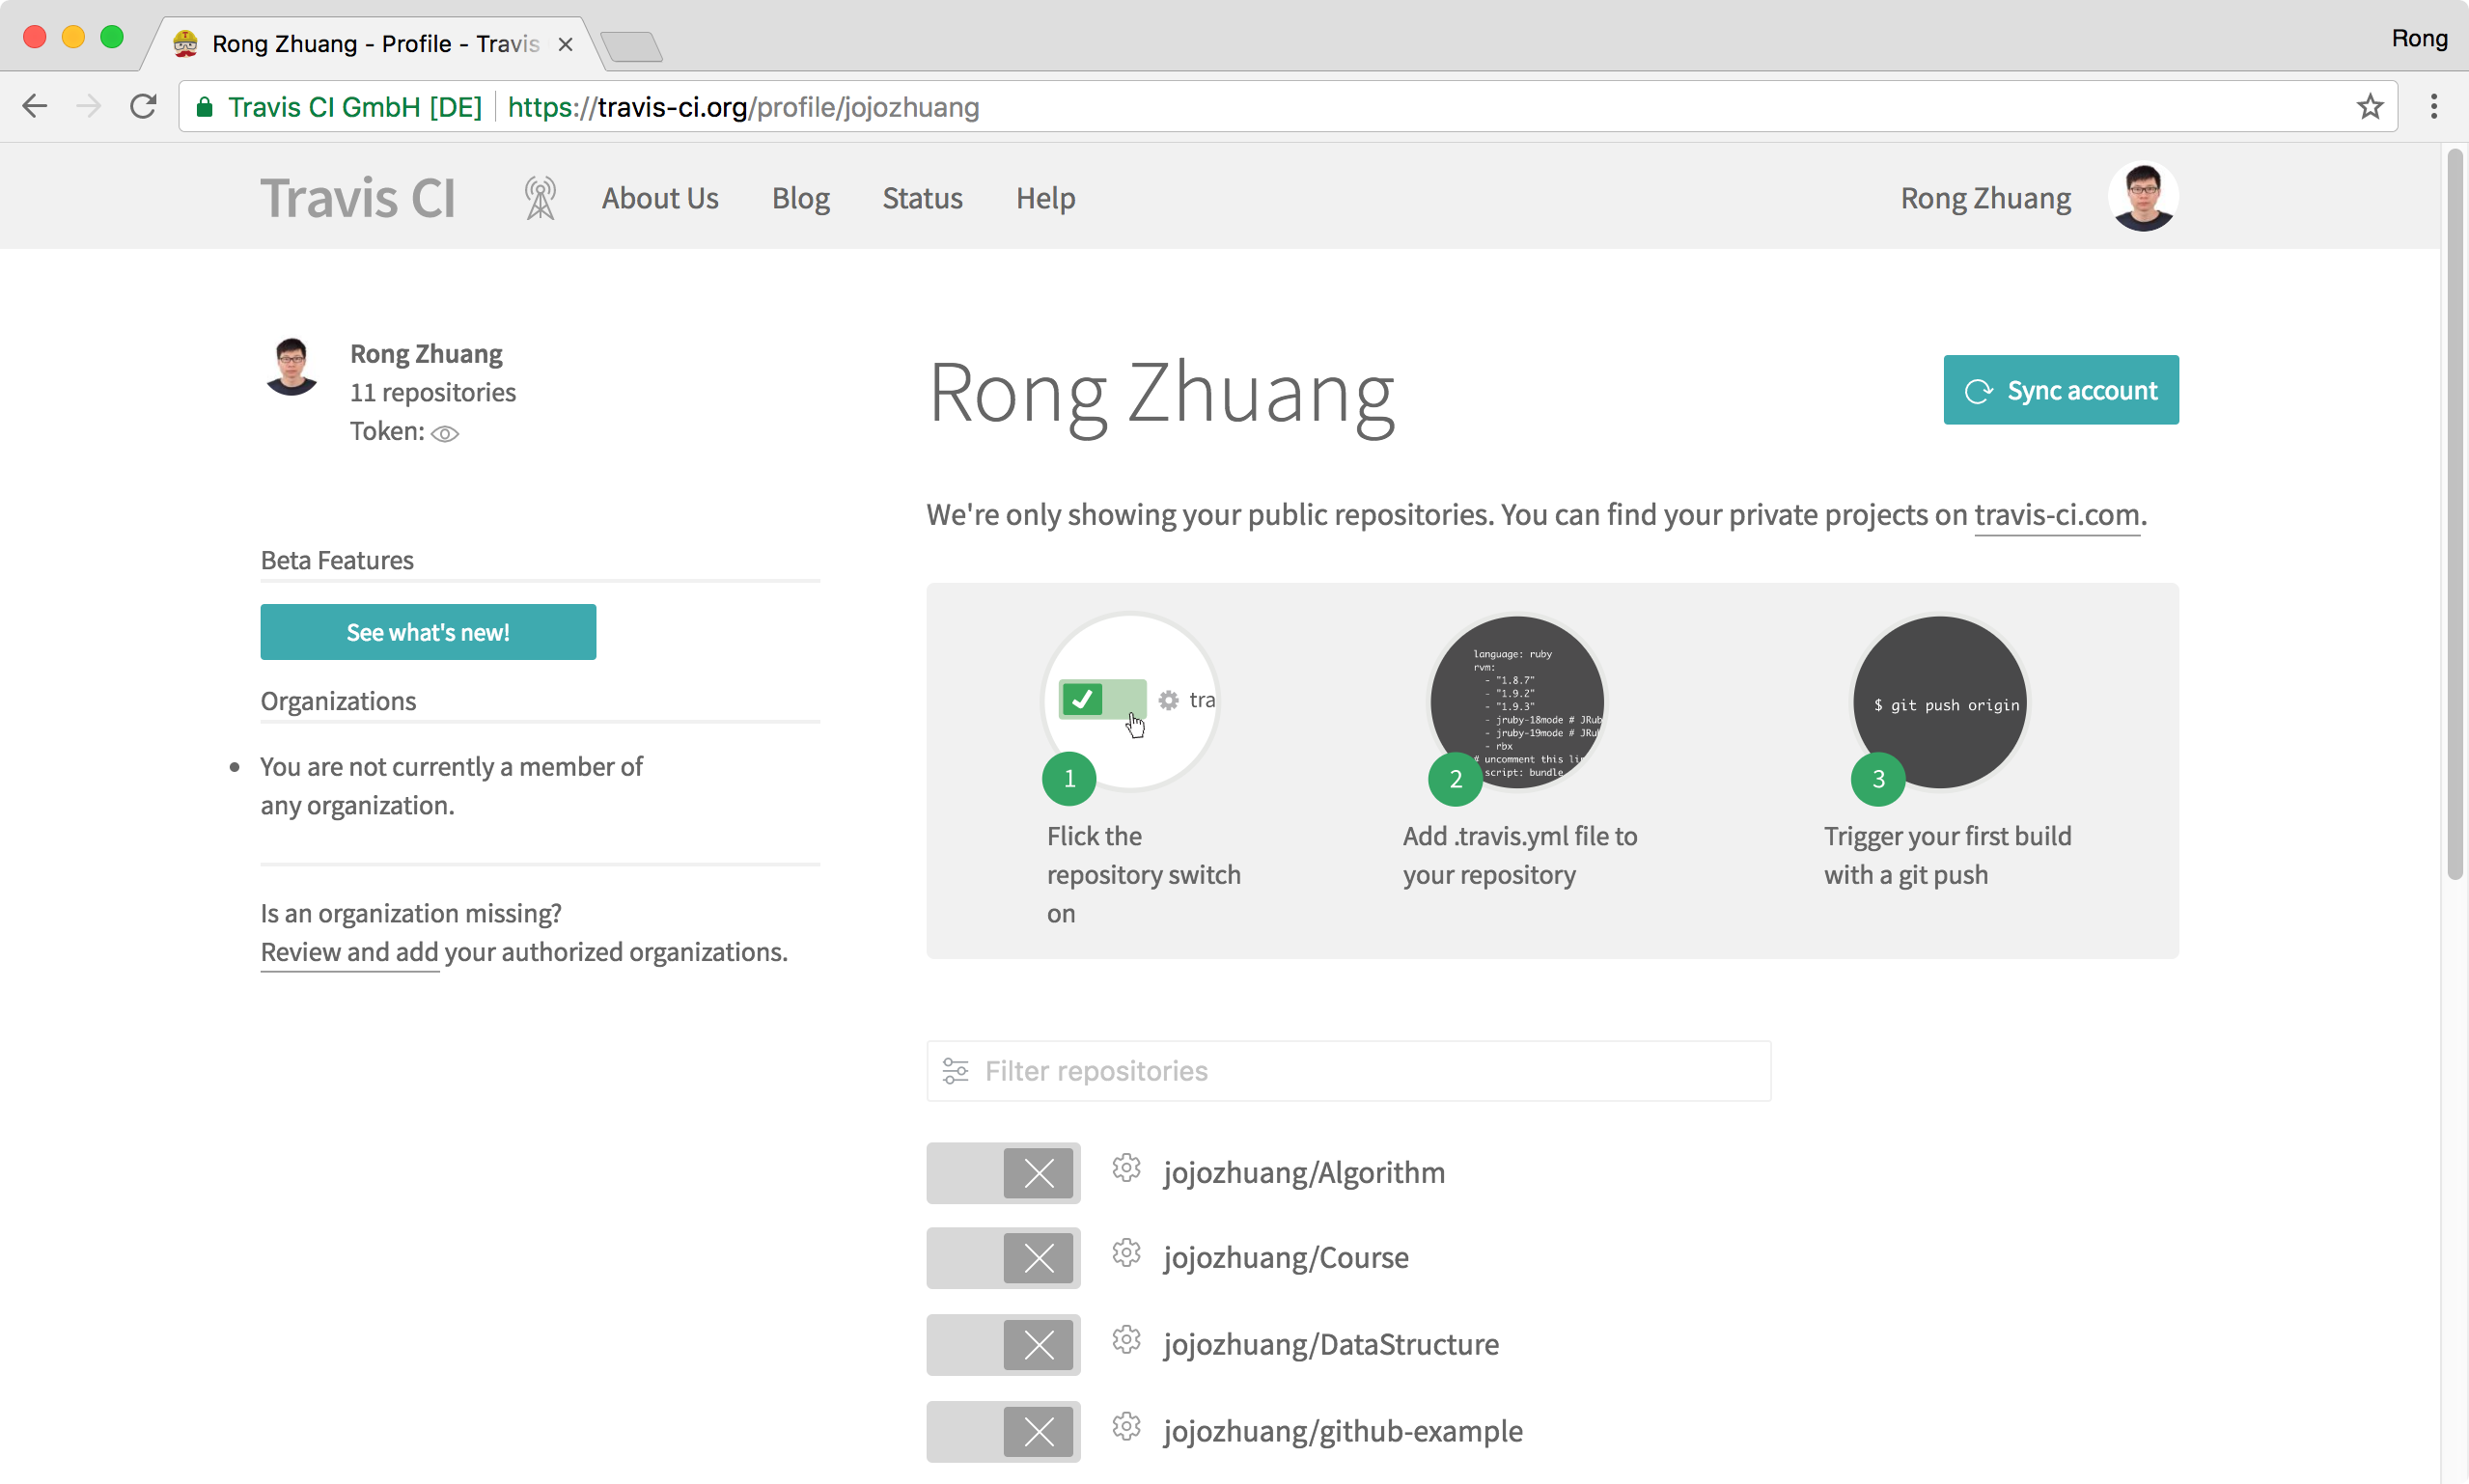 All the public repositories will be displayed here. Find the Github Page repository and switch on for auto building. The only left thing to do is to make some changes to your repository. Travis CI starts building the website once it detects new changes are committed.
5. Demo
Edit some files and submit them to GitHub. Few minutes later, you will receive one notification email from GitHub Page saying the page build failed. However, there is no detailed information of the failure. We don’t know what is the exact error.
 Then, you will get another notification email from Travis CI. It also reminds you that the build is failed.
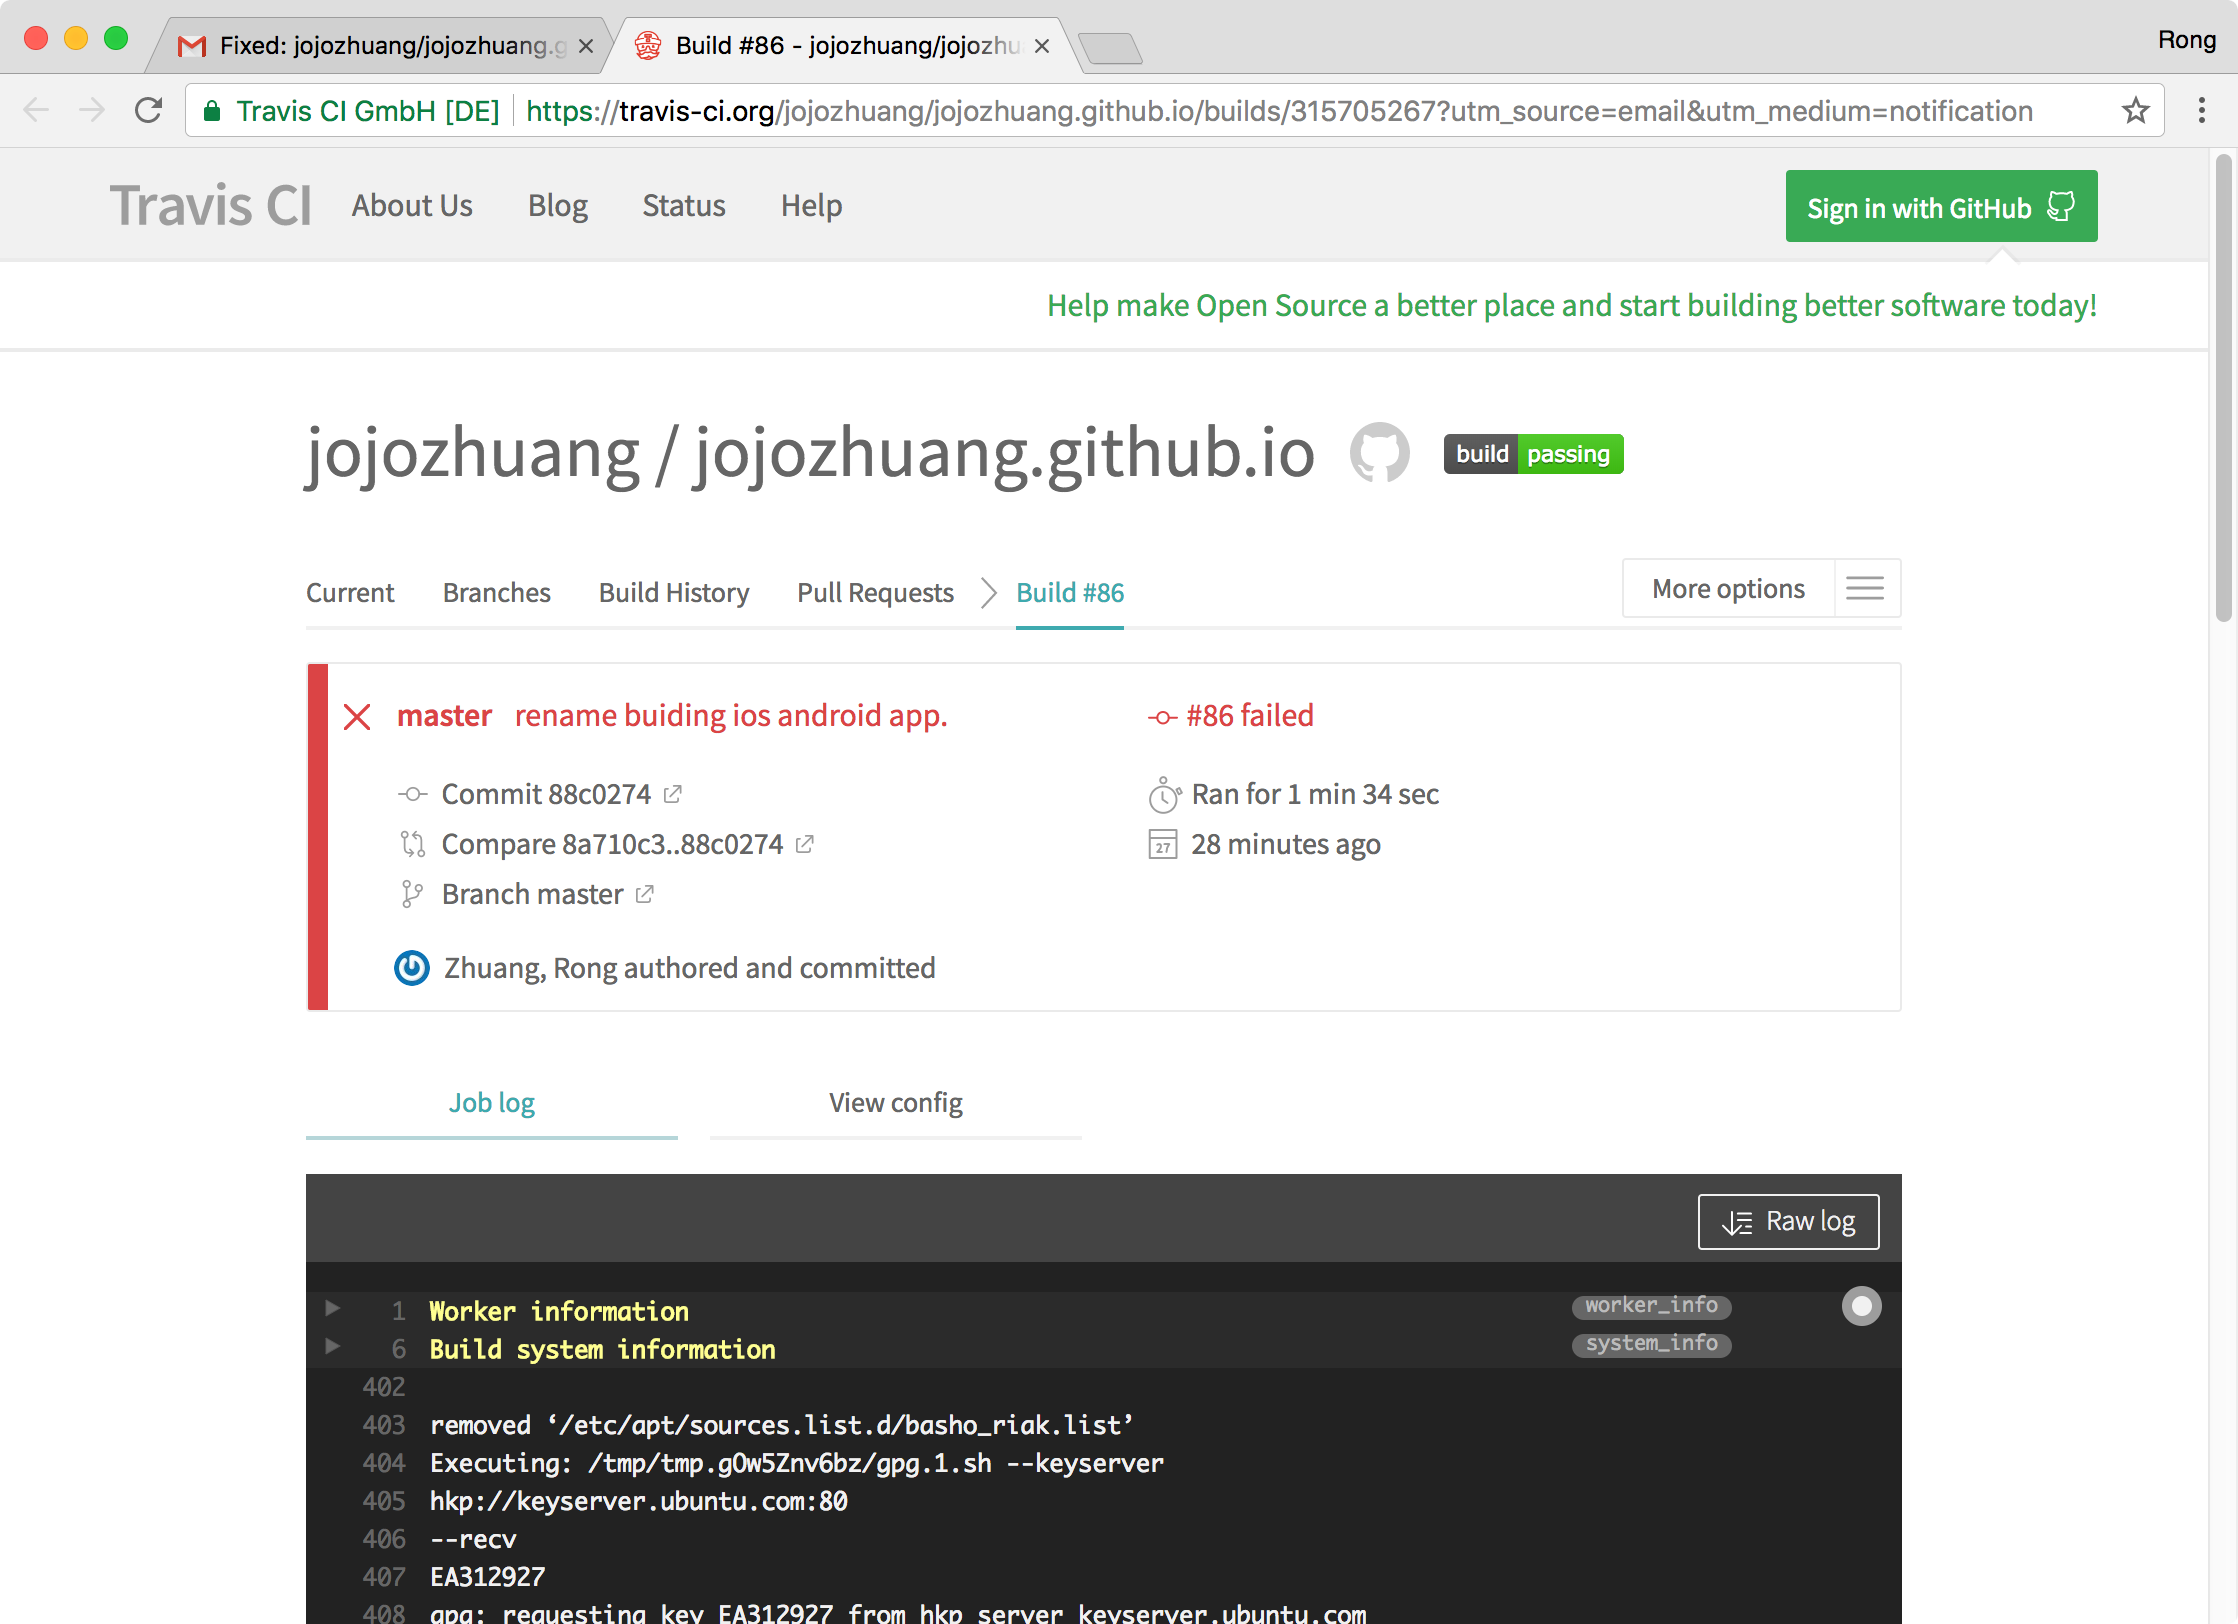
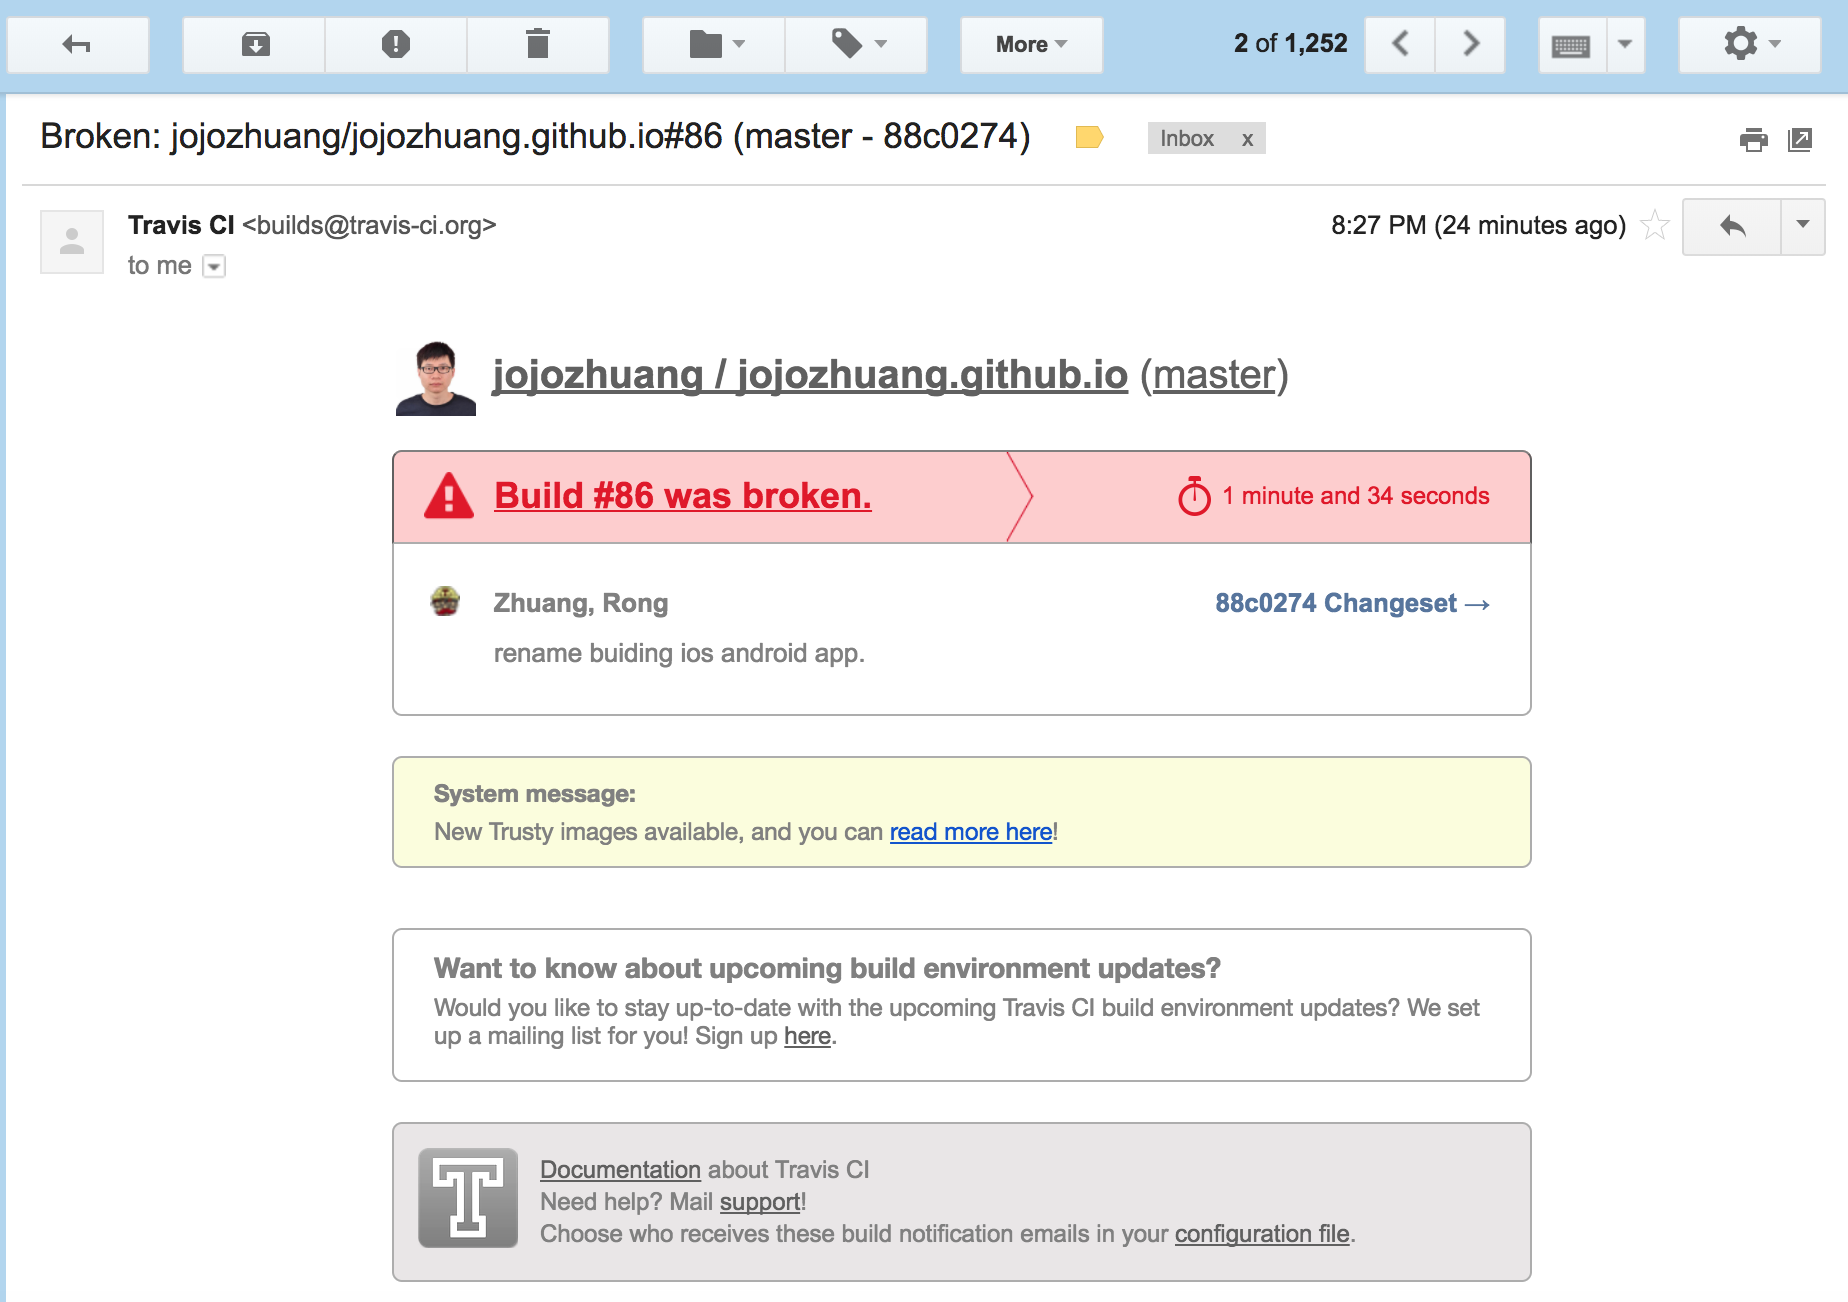 Click on the ‘Build was broken’ link. You will see the details about the current build(which is numbered 86 in this example).
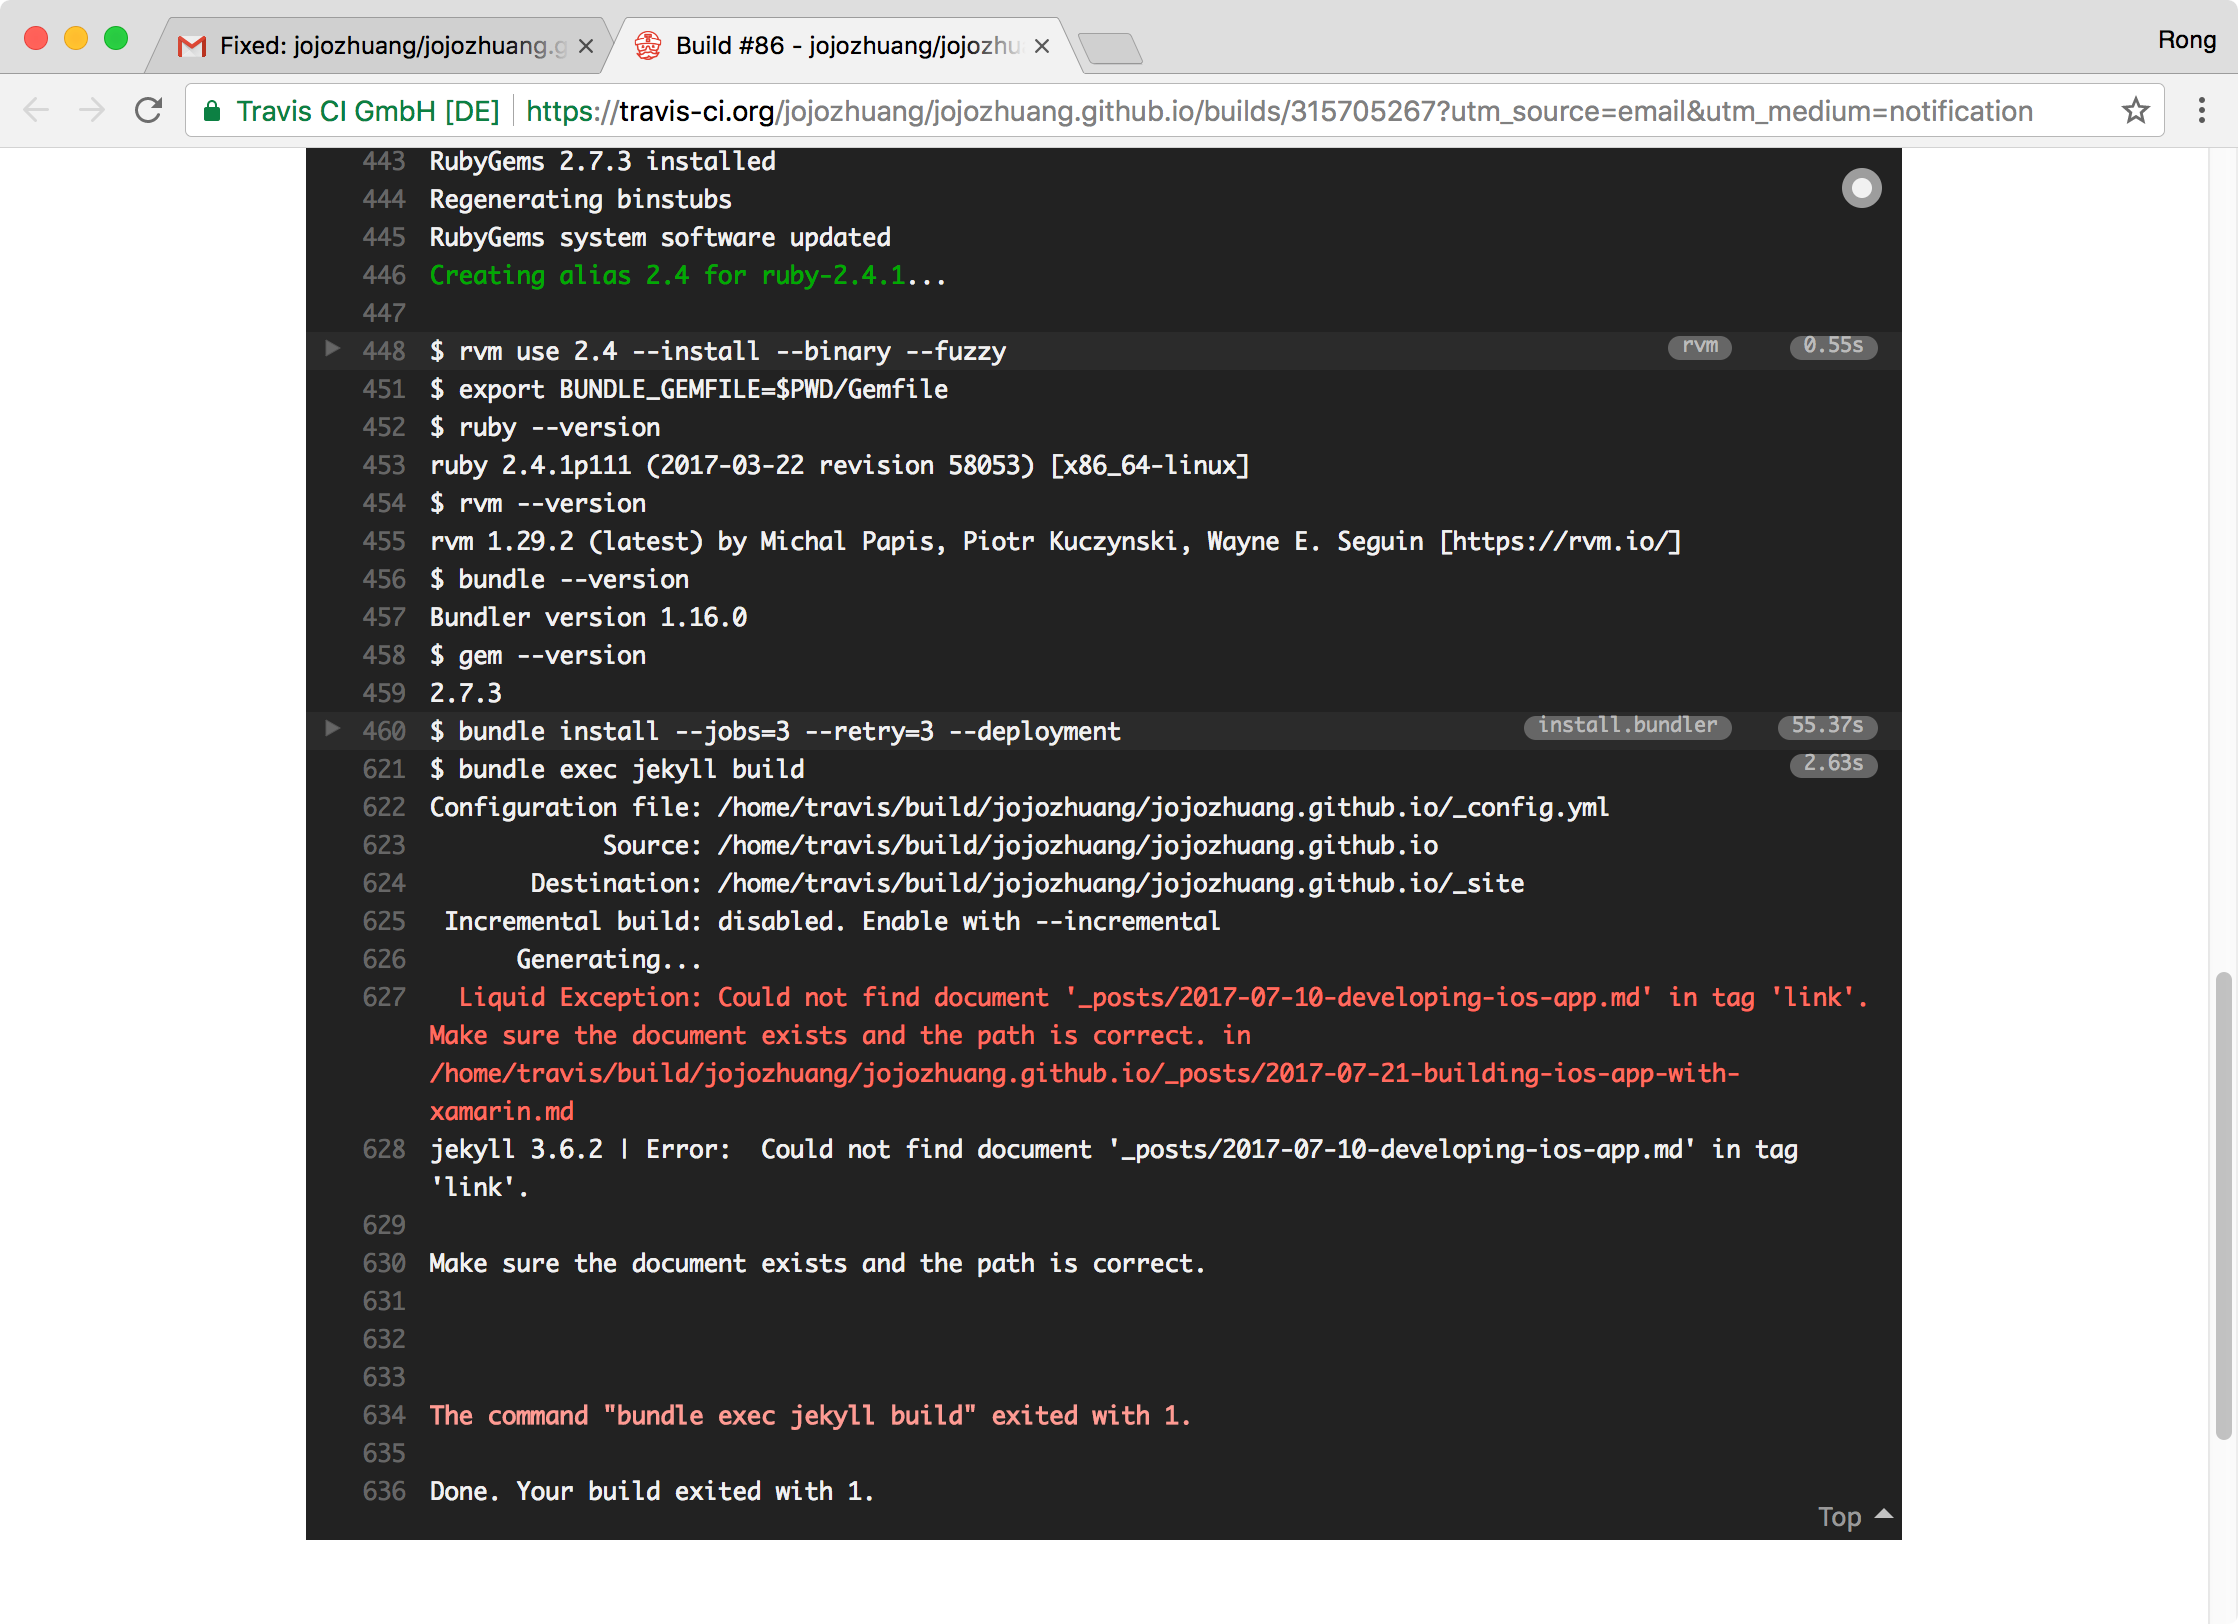
 Scroll down until you see the error marked in red. The error comes from Liquid(an open-source template language). It is complaining that the link to file ‘_posts/2017-07-10-developing-ios-app.md’ cannot be generated in ‘_posts/2017-07-21-building-ios-app-with-xamarin.md’. The file ‘developing-ios-app’ doesn’t exist.
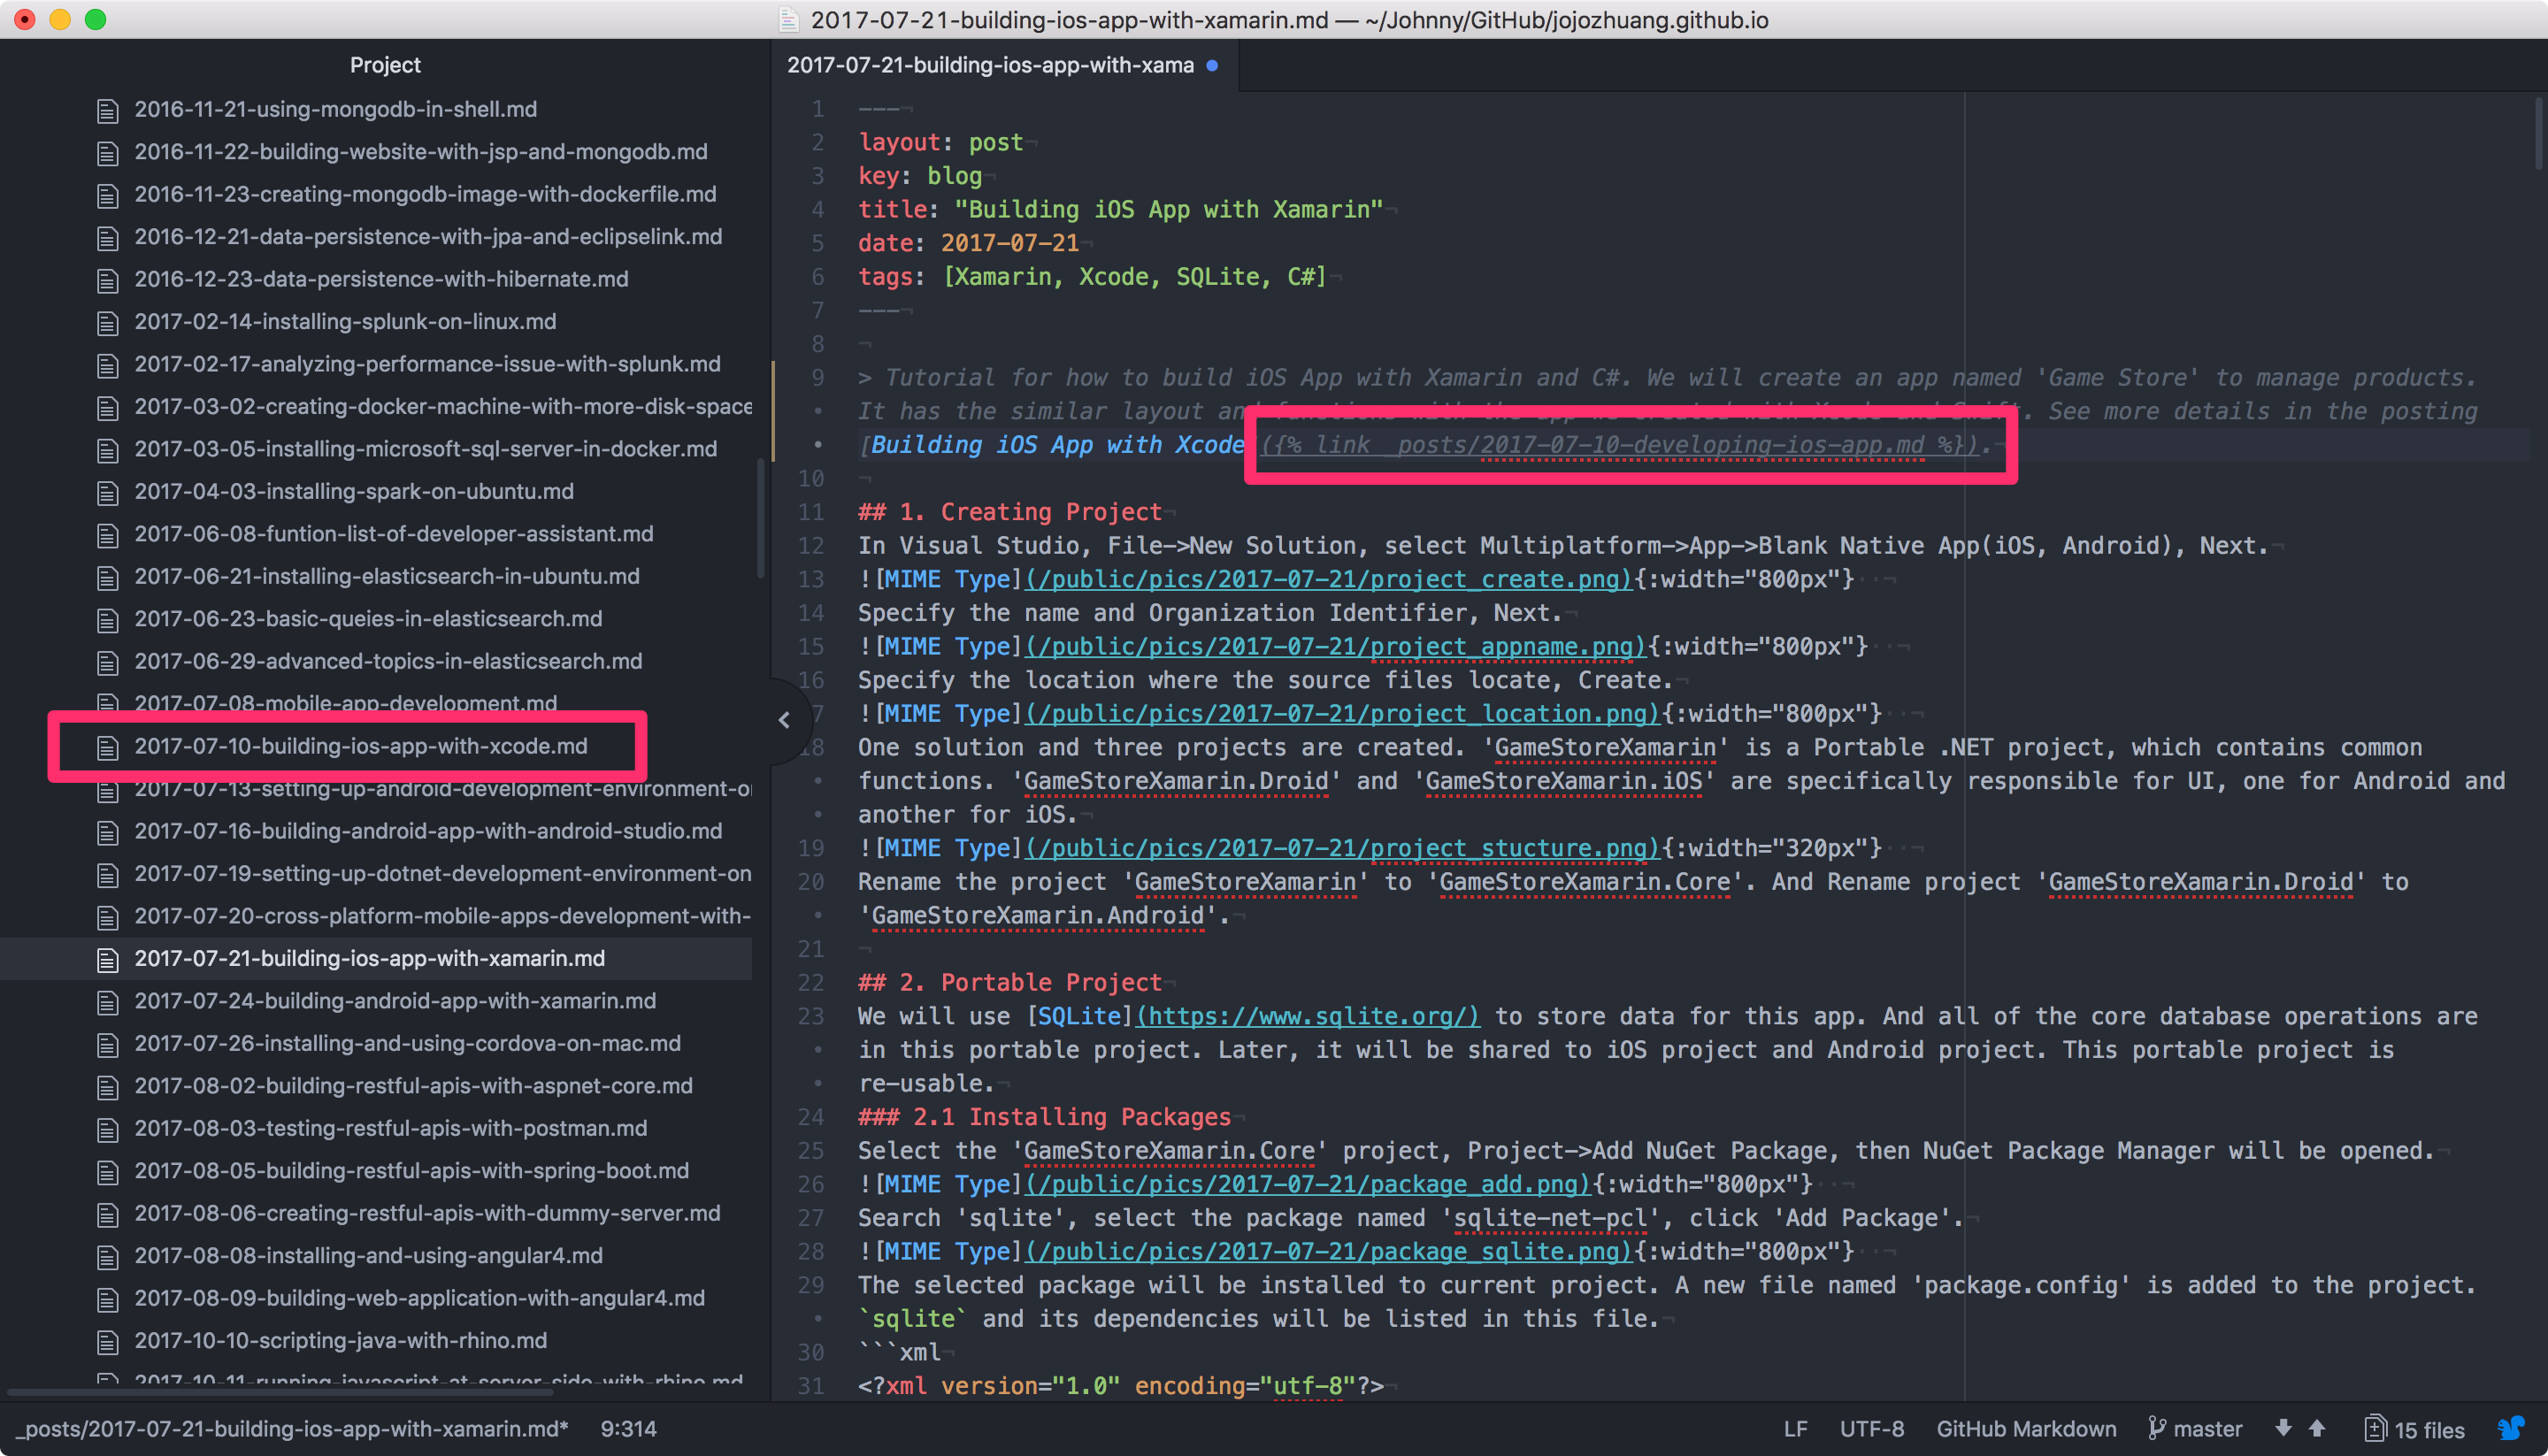
 Open file ‘_posts/2017-07-21-building-ios-app-with-xamarin.md’. The cause is found. In the last commit, I changed the file name from ‘developing-ios-app’ to ‘building-ios-app-with-xcode’. But I forgot to change the files which link to this file.
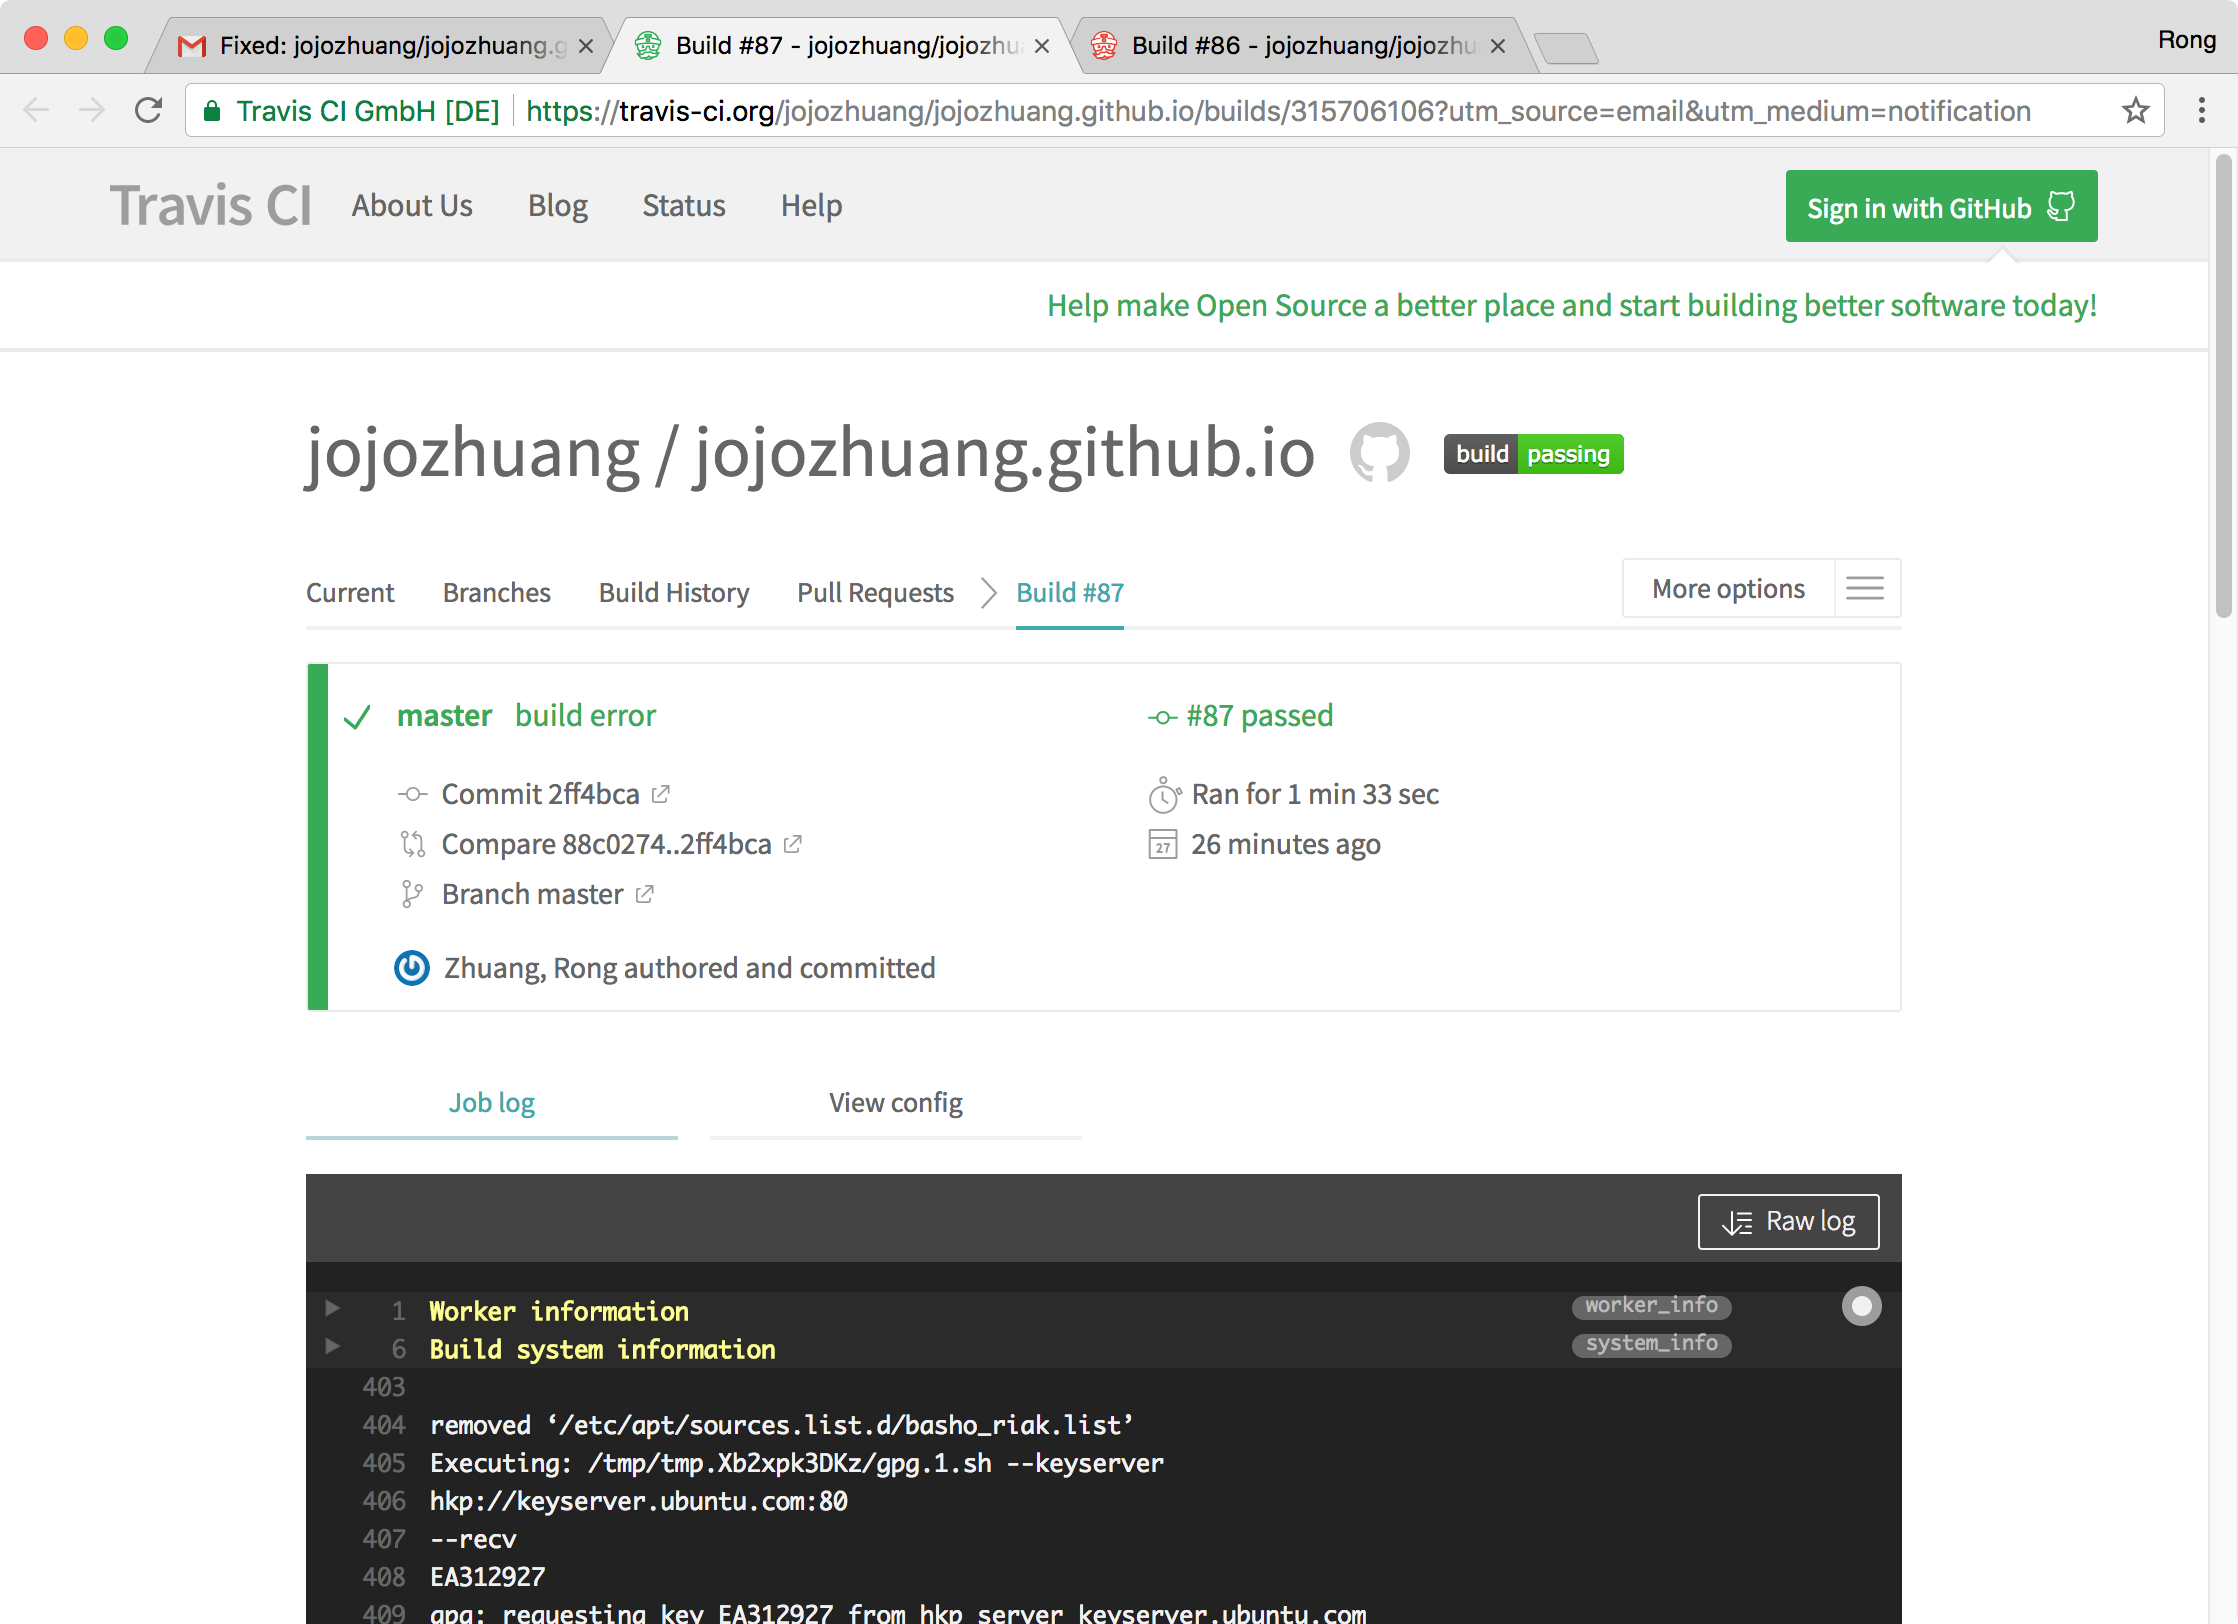
 Correct the file name in ‘_posts/2017-07-21-building-ios-app-with-xamarin.md’ and submit the change to Github. No notification email from Github, instead, only one notification email from Travis CI. The new build(#87) succeeded.
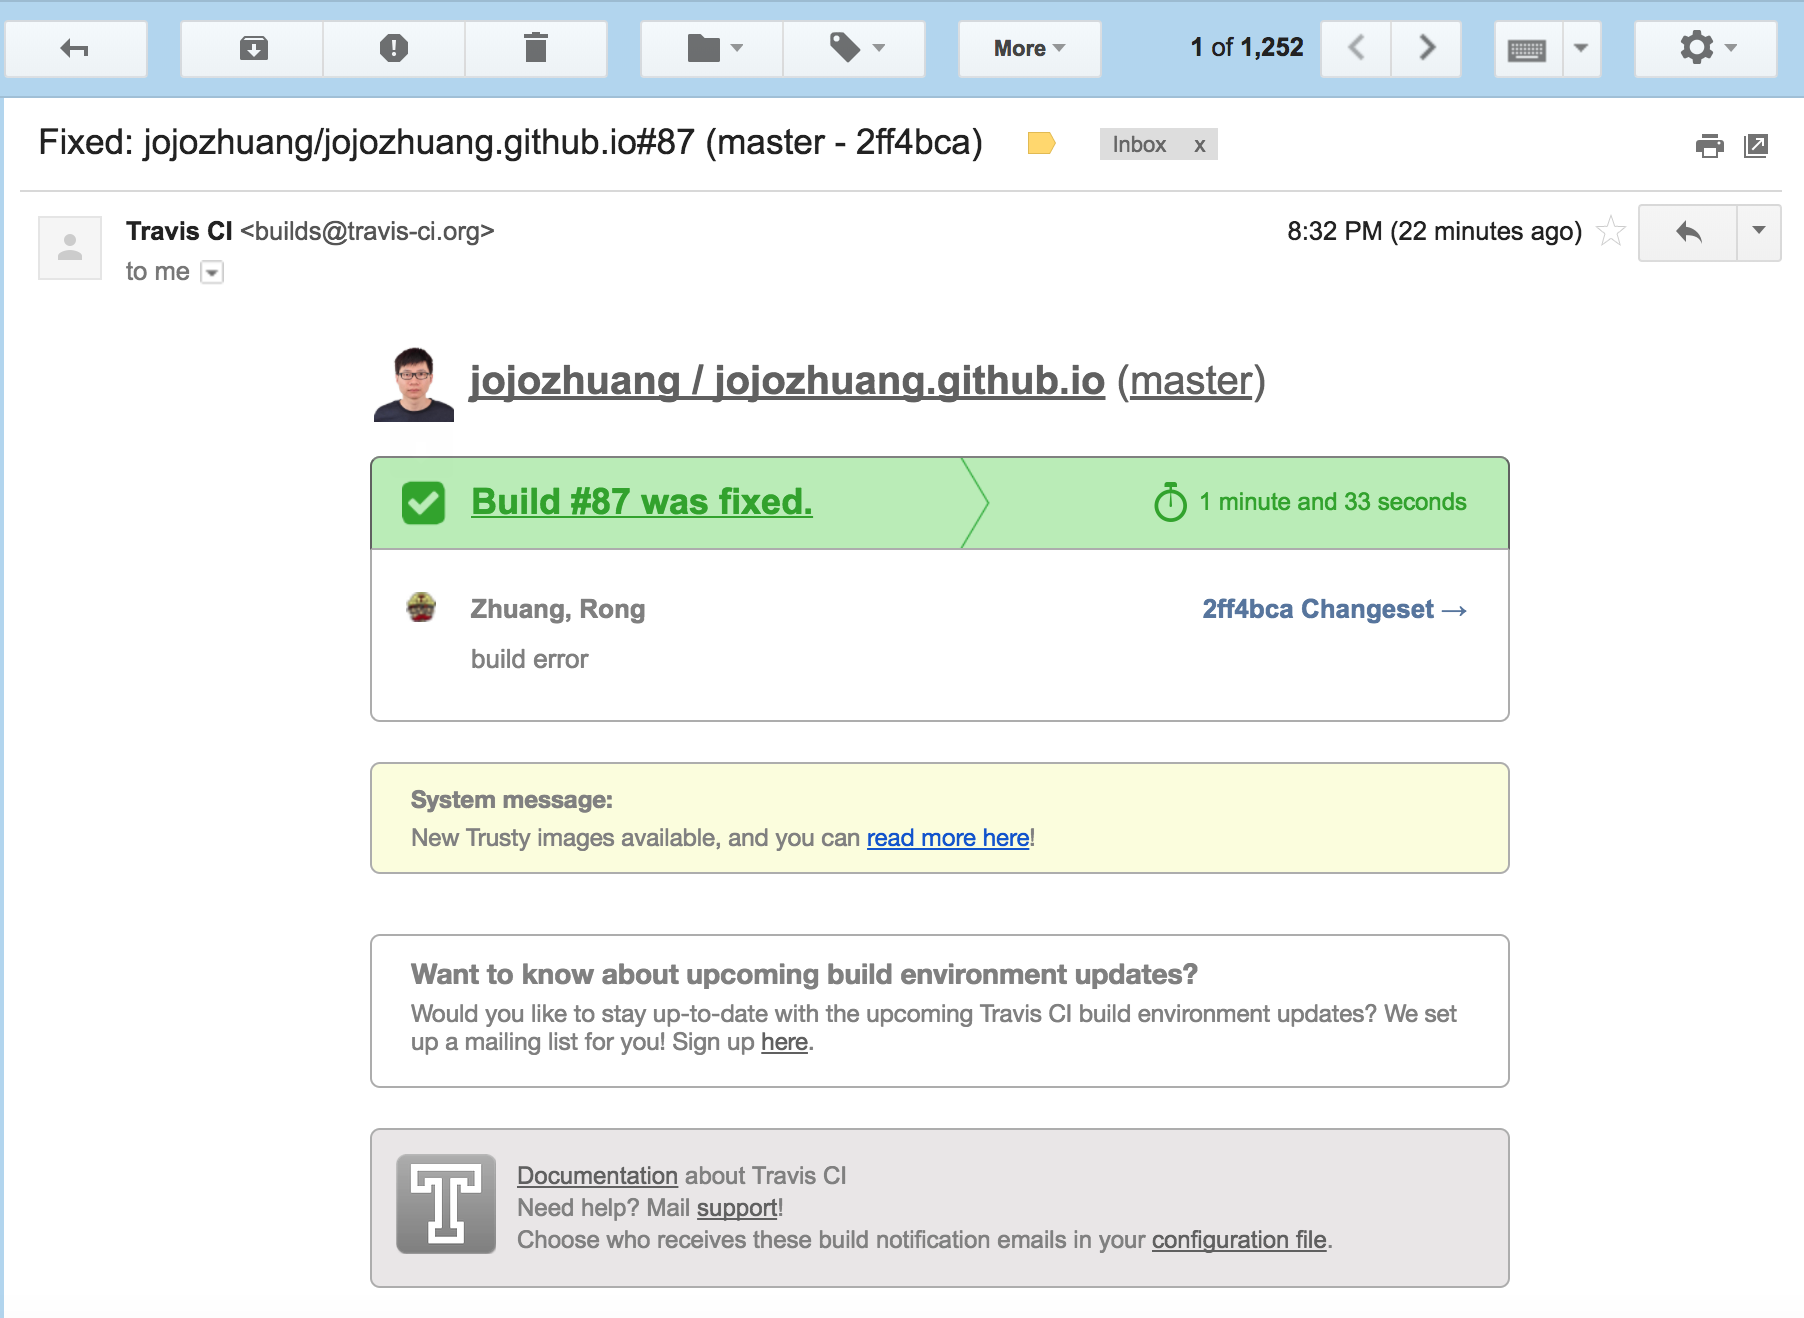 Click on the ‘Build was fixed’ link. You will see the details about the latest build.
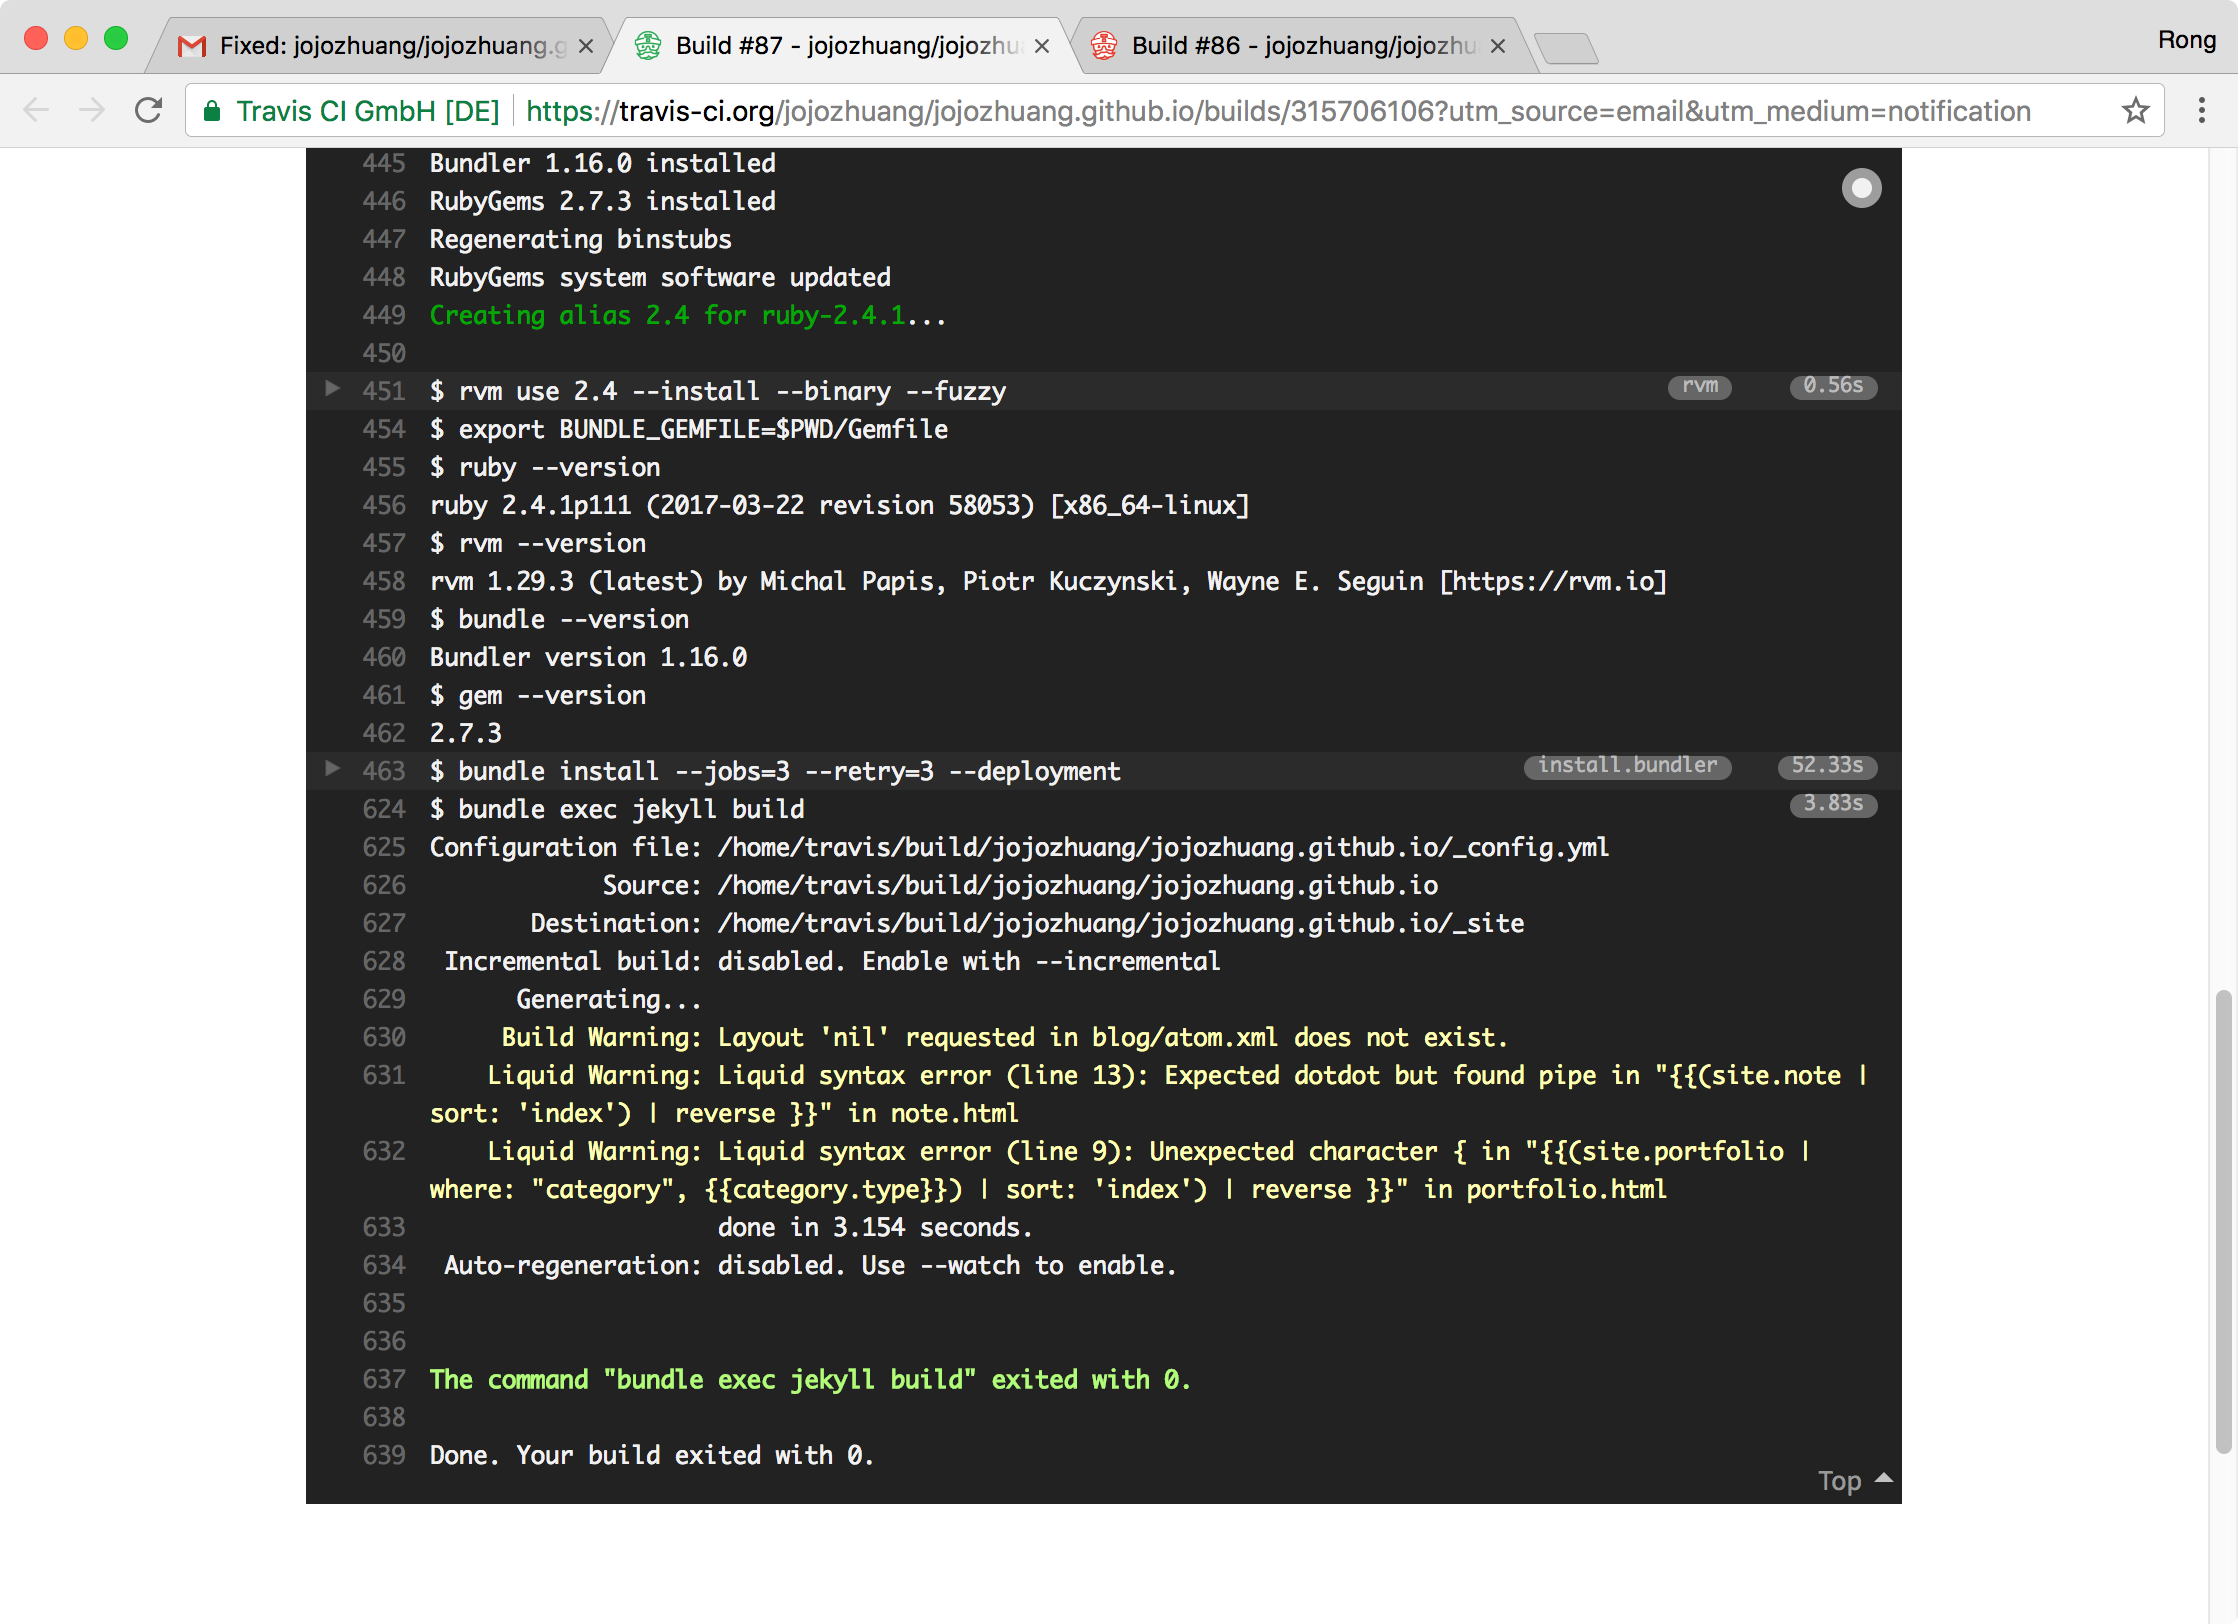
 Scroll down, no error occurs this time.
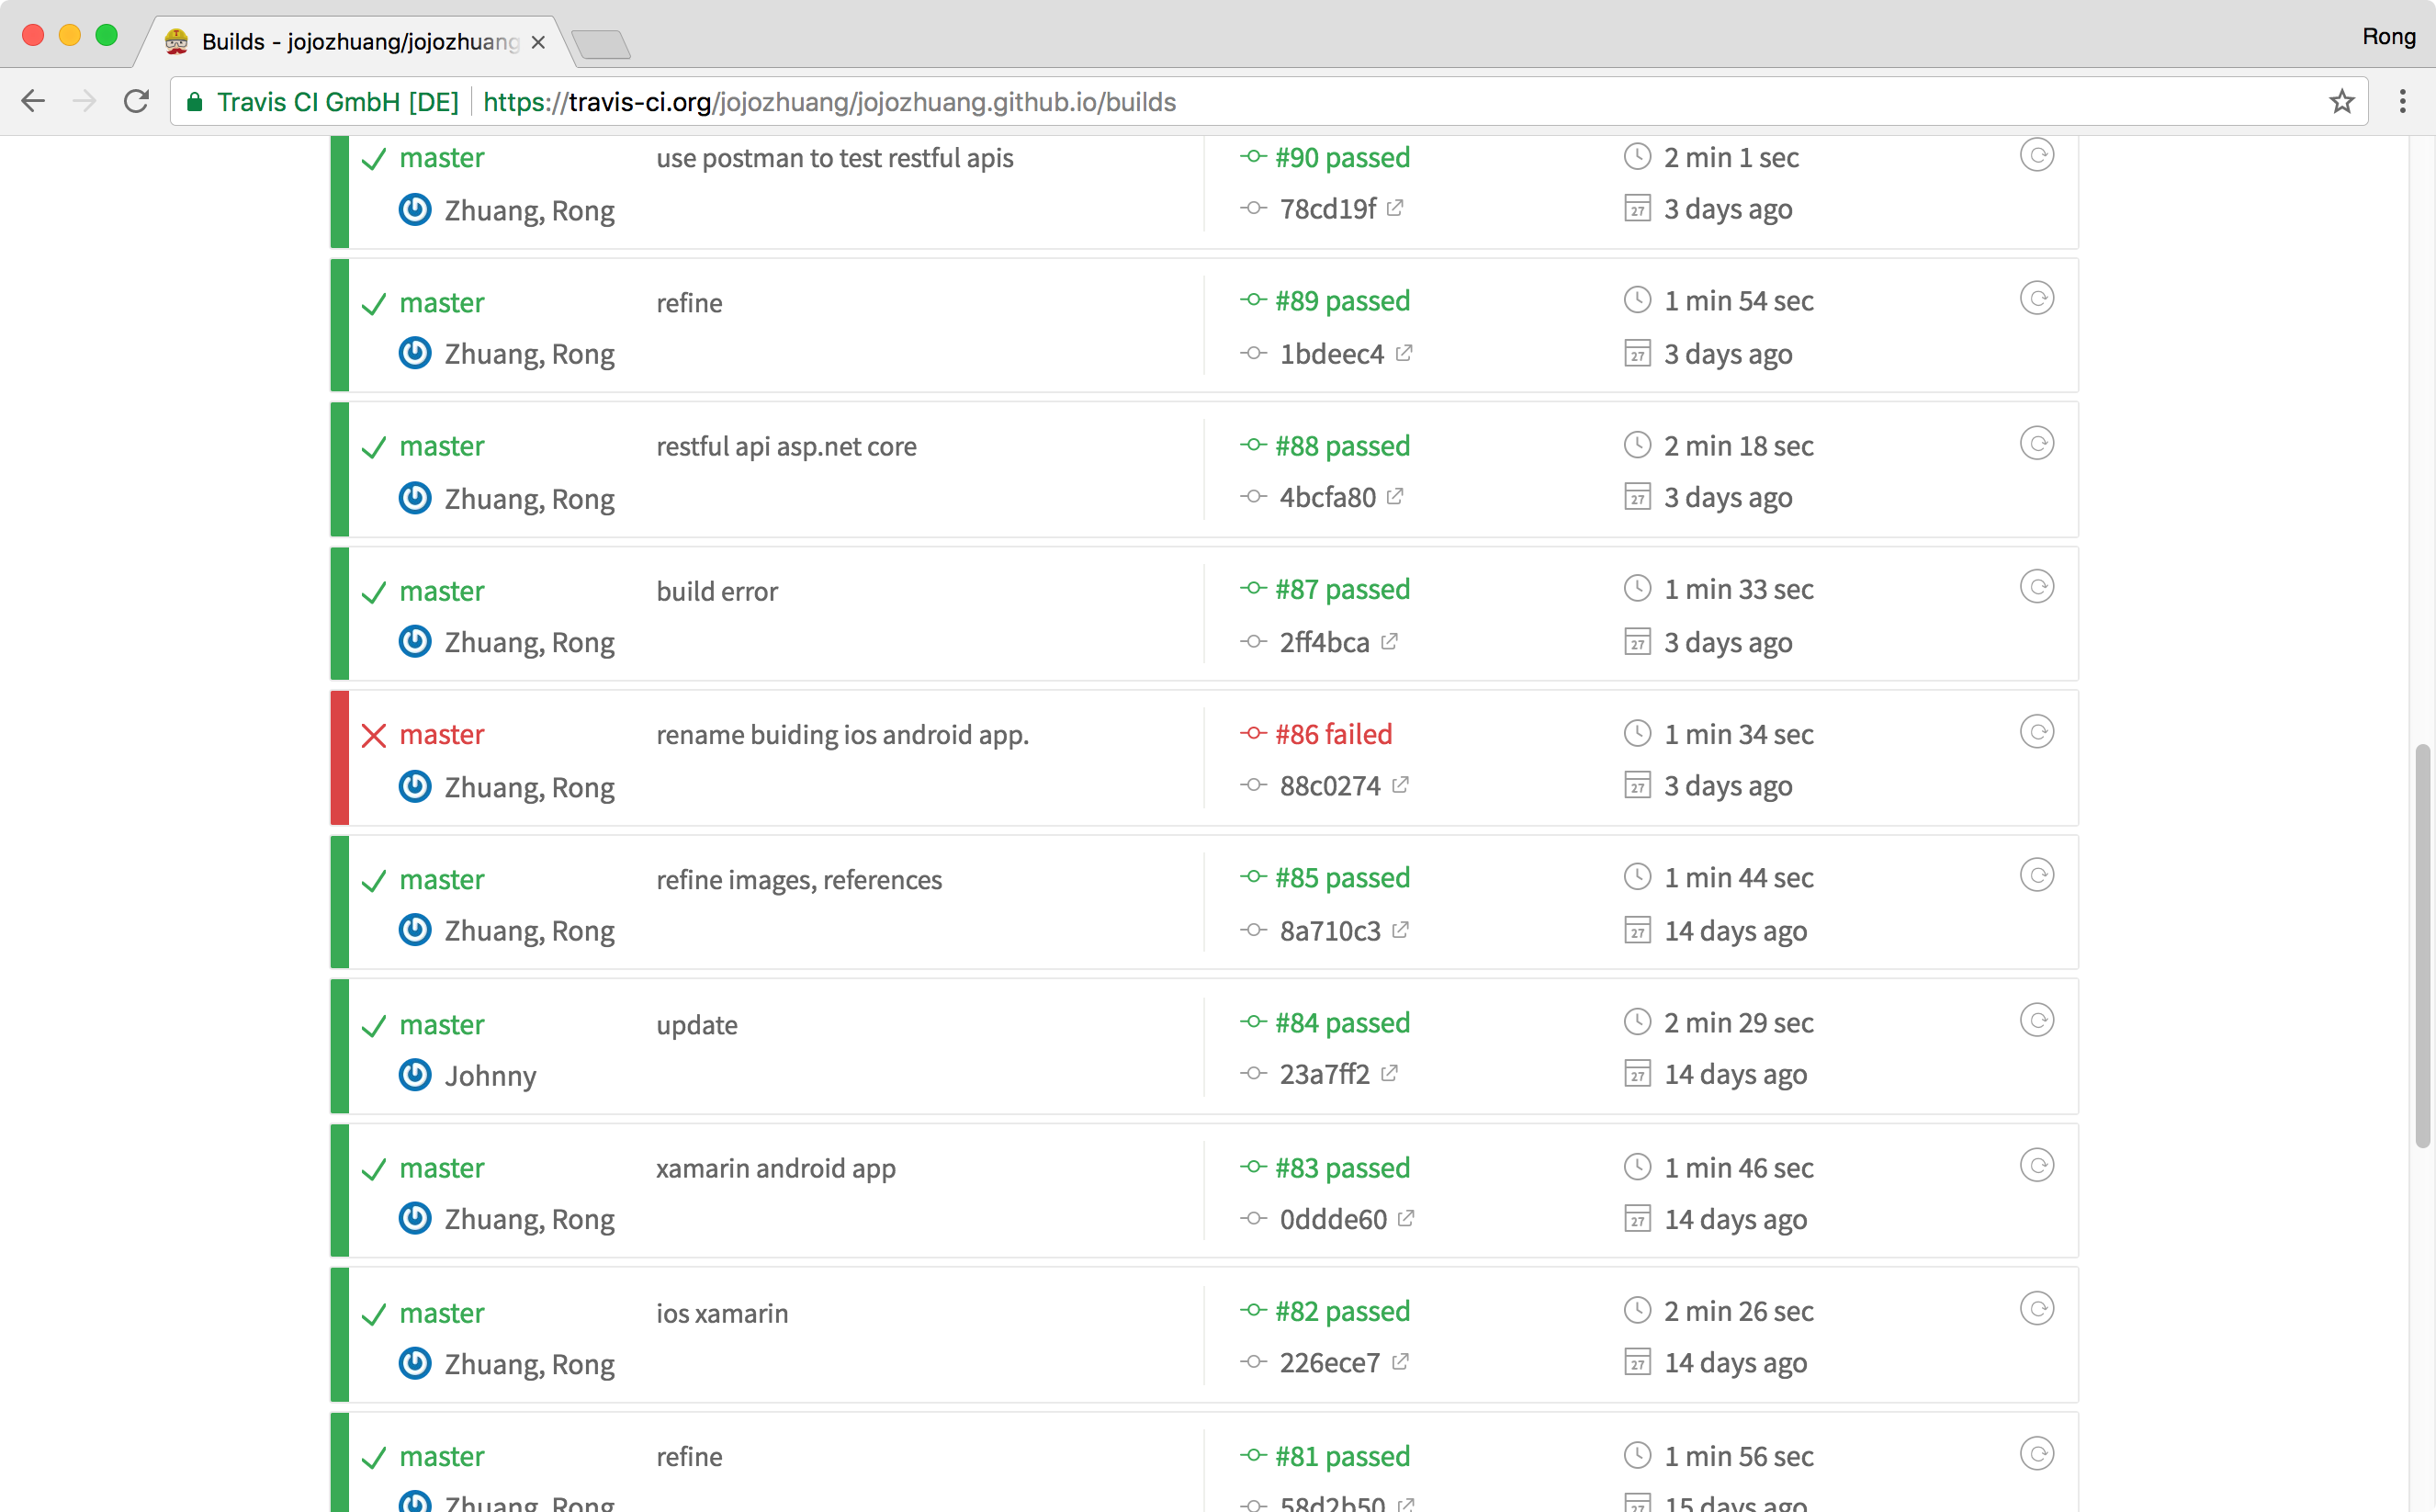
6. Travis CI Dashboard
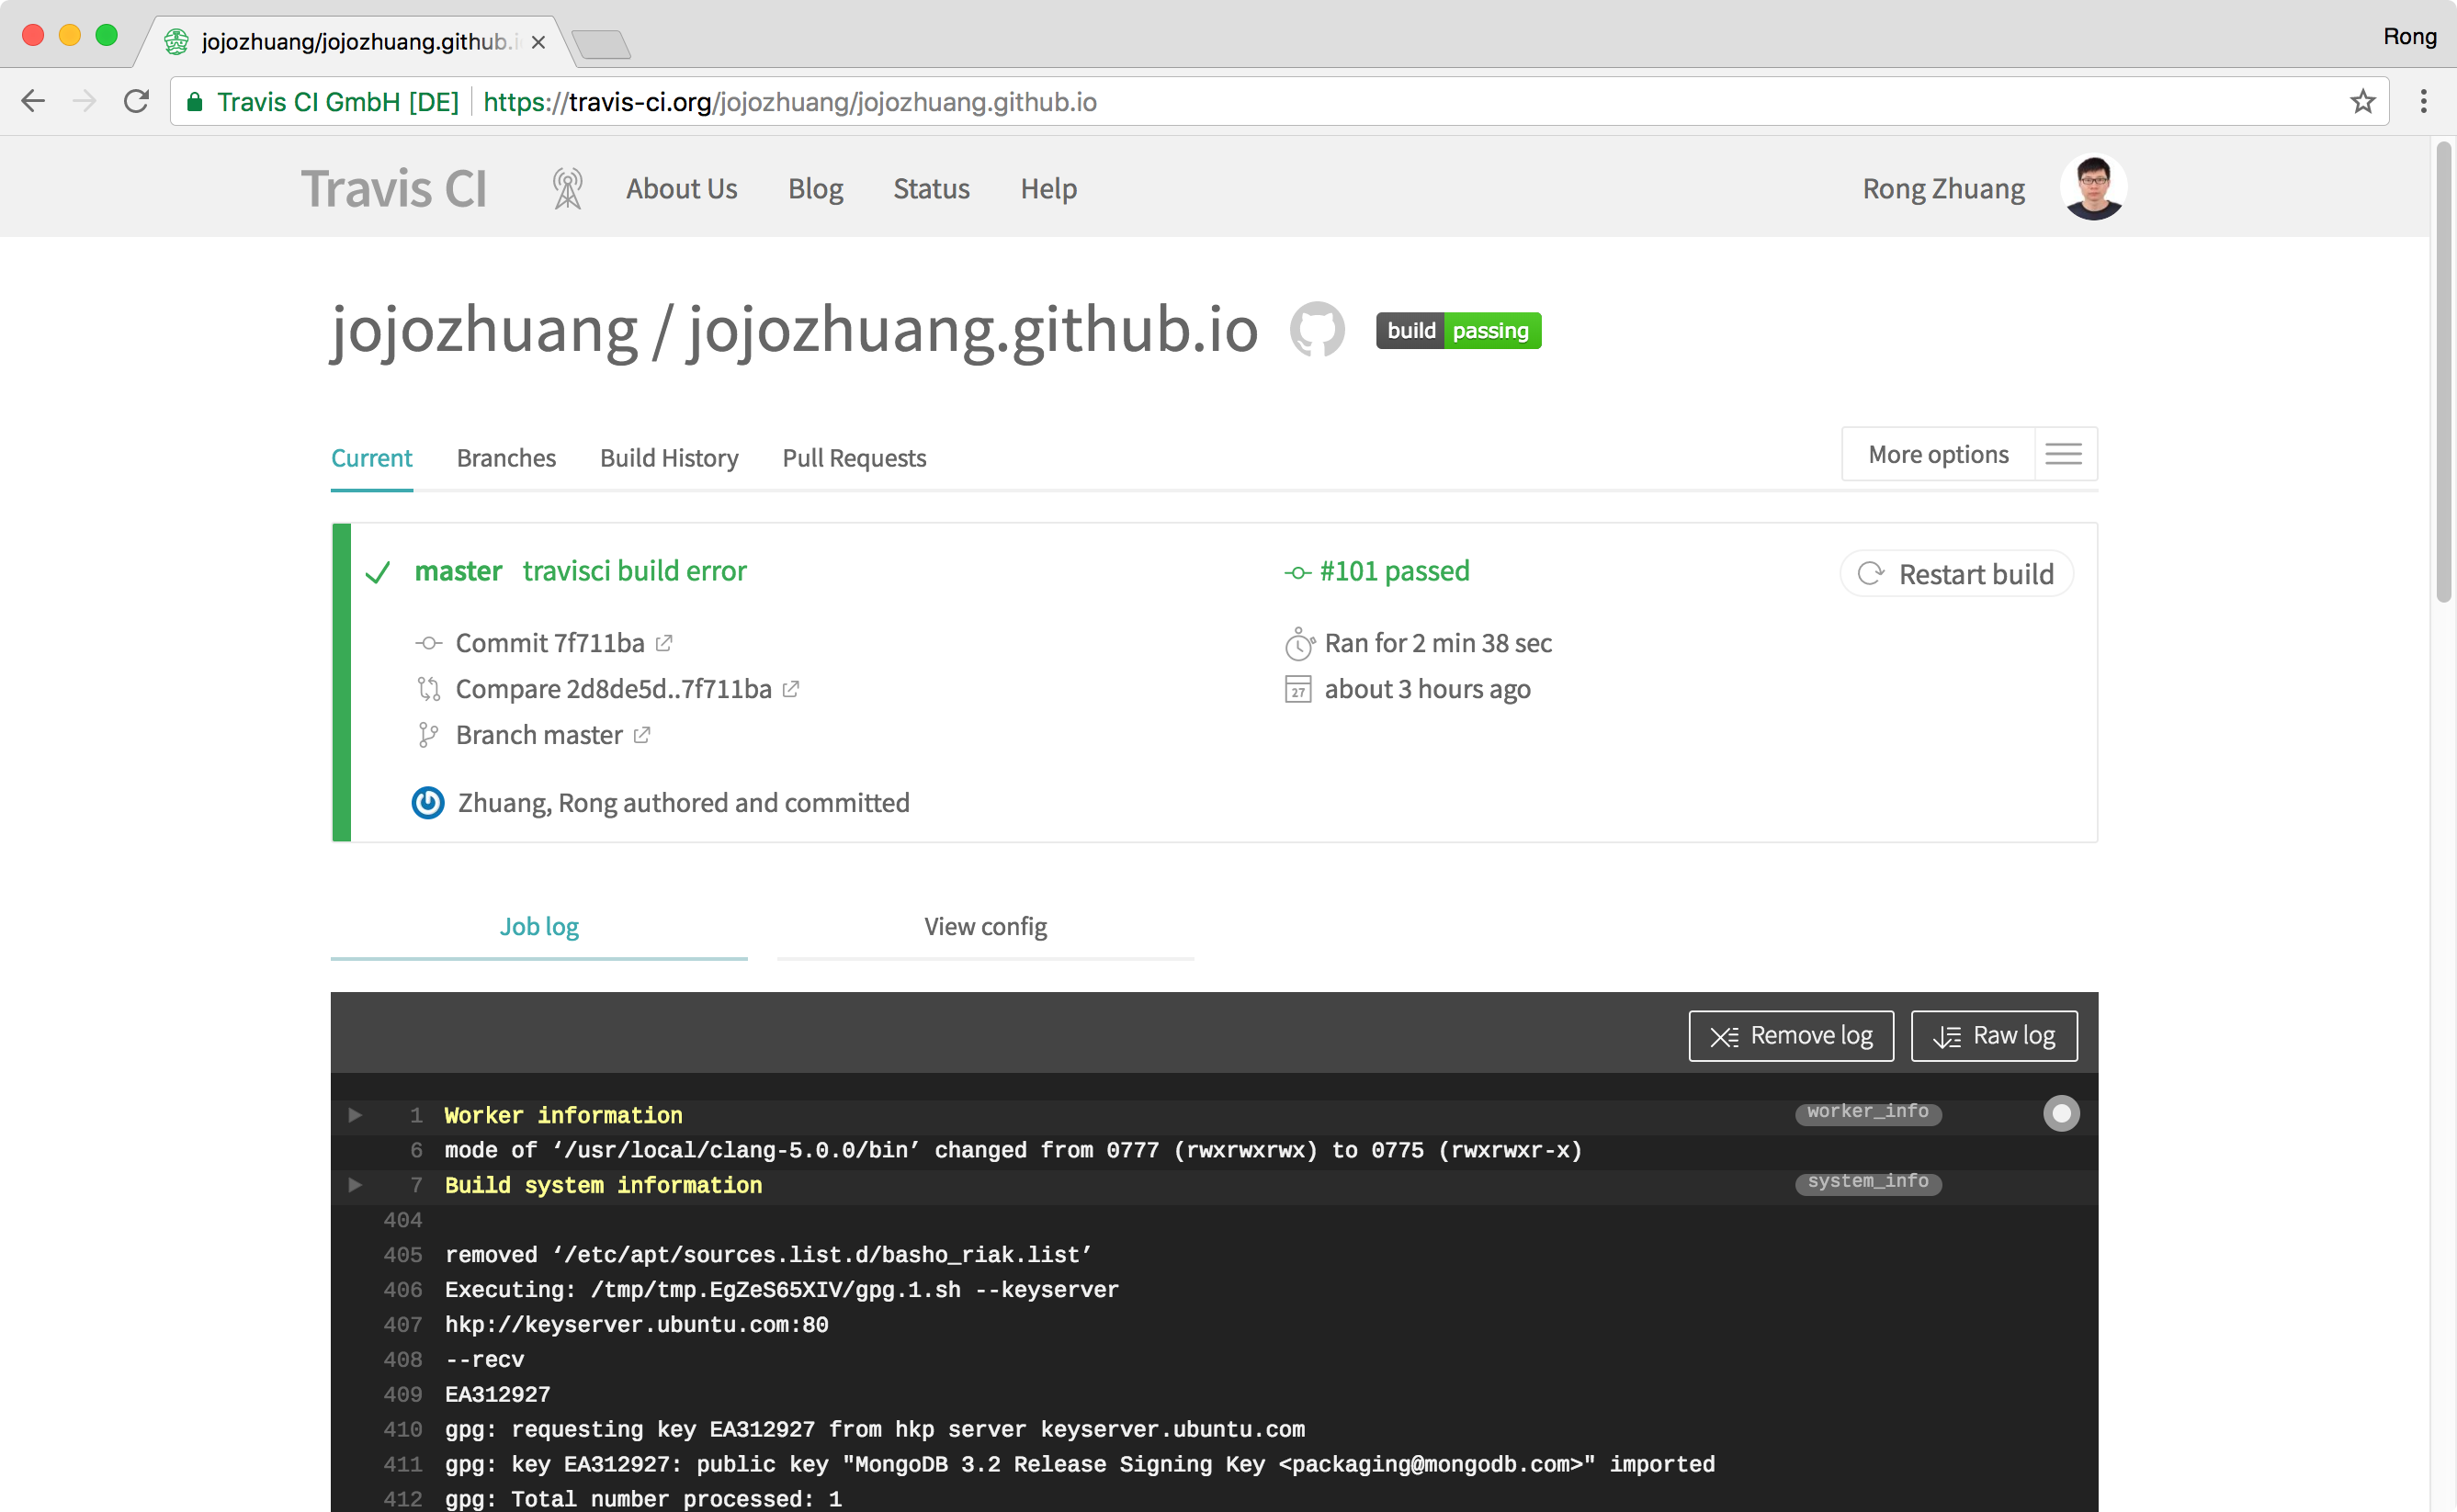
The current activated repositories are listed in the dashboard.
 Click on the repository, we get the latest build.
 Branches.
 Build history.

